It's a tool that can sculpt, depuff and promote collagen - here's the expert-approved Gua Sha routine to reap the benefits
You've likely got the tool lying around at home
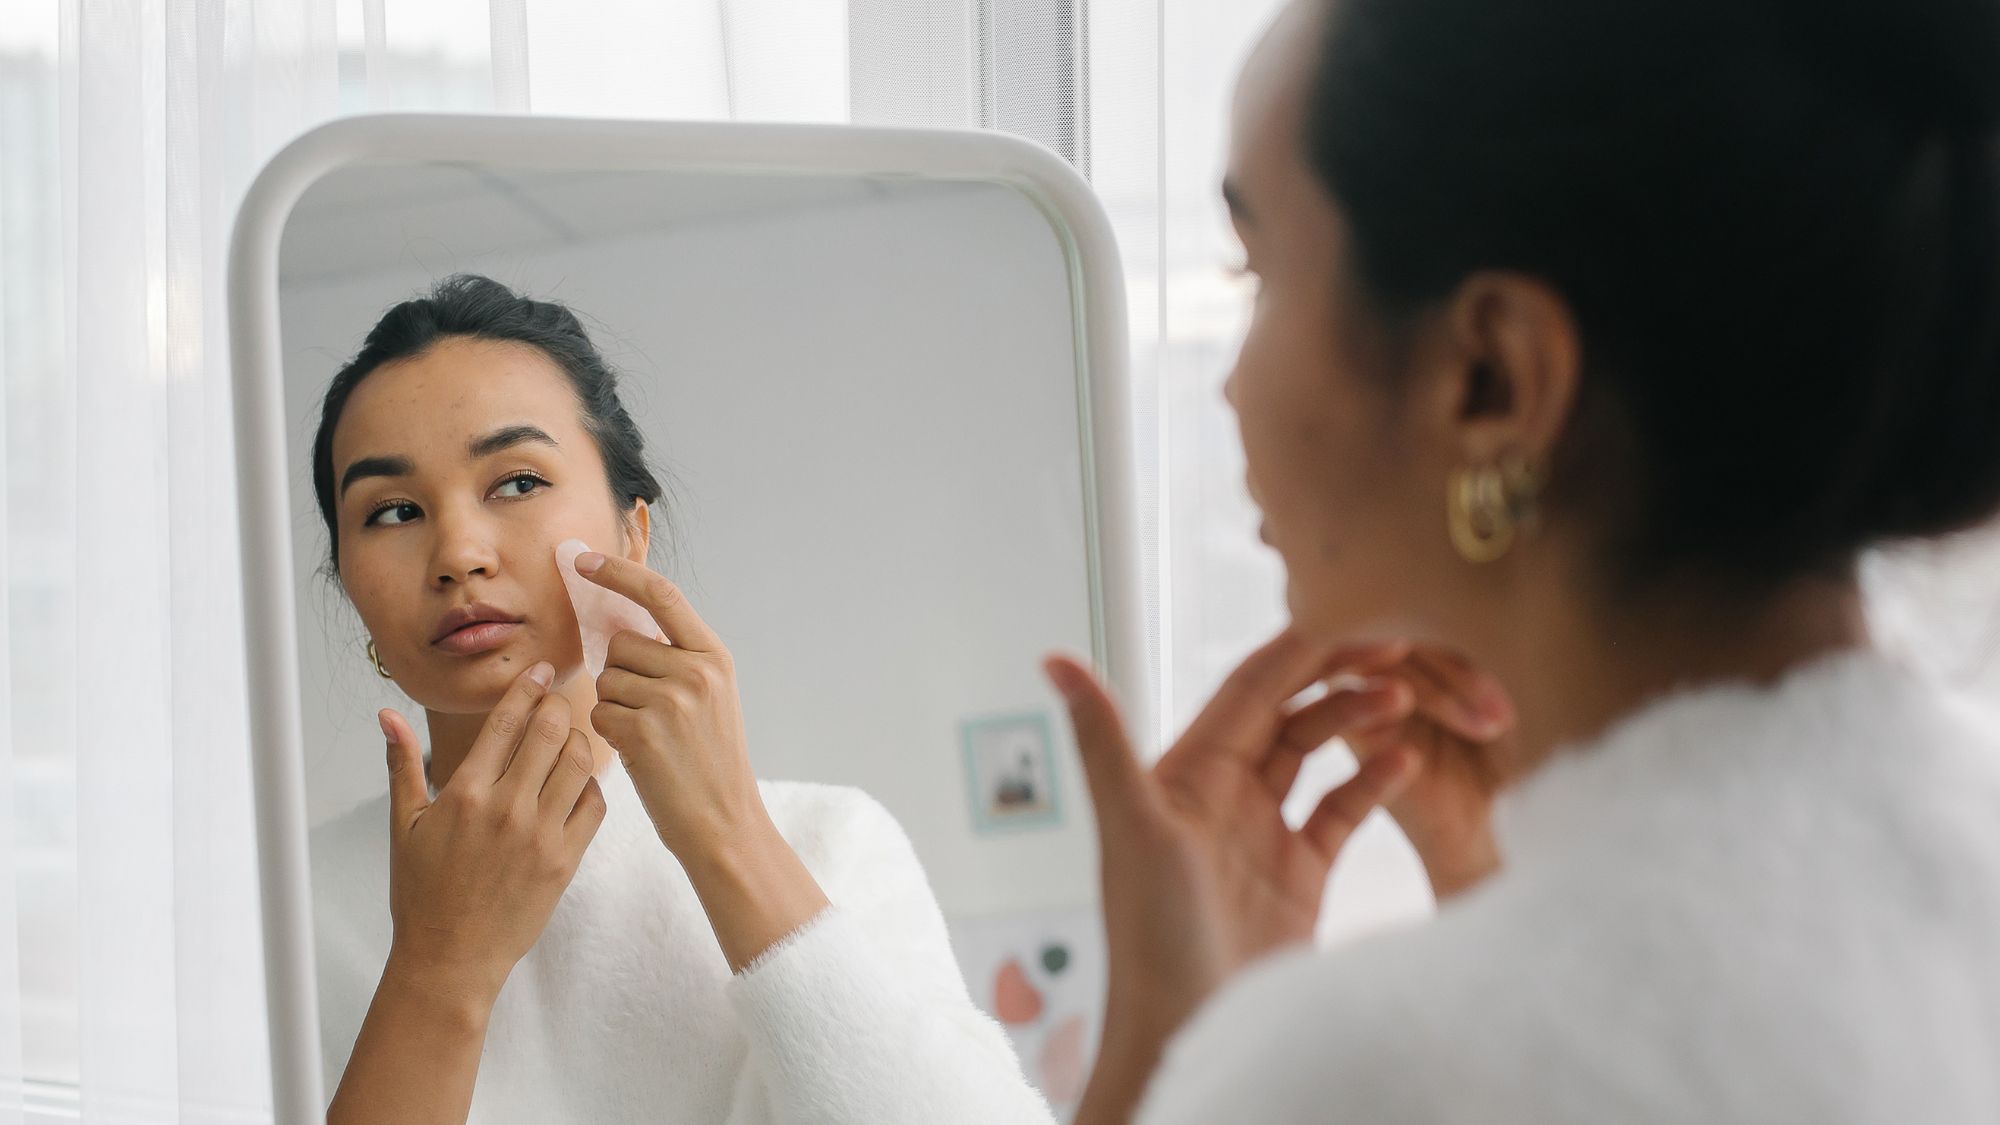
We’ve learnt by now that almost nothing in beauty is new. Instead, a rich history precedes it. Although TikTok is awash with Gua Sha tutorials showing us shiny new things, make no mistake in thinking it’s new. Gua Sha is a Traditional Chinese Medicine technique, which helps to restore the body’s flow of energy, work points of tension, increase circulation and many other benefits.
Aside from all of those great benefits, it’s also a beautifully relaxing practice and facial massage to incorporate into your skincare routine. Today, we’re covering the basics of everything you need to know about Gua Sha, including how to use the tool at home.
What is Gua Sha?
Gua Sha is a technique used in Traditional Chinese Medicine (TCM) that’s been used for thousands of years to treat illness and maintain health. “‘Gua’ means to scrape or rub and ‘Sha’ refers to the reddish petechiae (small, pinpoint bruises) that appear on the skin as a result of the treatment,” says Victoria Yau, Traditional Chinese Medicine expert for Muihood. “Traditionally, a smooth-edged tool made of jade or bone is used to scrape the skin.” This scraping or gliding motion at specific points on the face and neck “break up the stagnation of blood and Qi (energy) in the body,” Victoria explains.
There are two types: Gua Sha and Facial Gua Sha. “We apply much more pressure with Gua Sha and often cause petechiae, whereas facial Gua Sha is much softer,” says Victoria. TCM practitioners consider the channel system of the whole body whilst performing Gua Sha. “We have 12 major channels, each representing one organ, running through our whole body,” Victoria adds. Your practitioner will work on specific acu-points to treat symptoms or illnesses that you wish to be improved.
A post shared by Muihood (@muihood)
A photo posted by on
What are the benefits of Gua Sha?
There are so many benefits to Gua Sha, besides being a very relaxing way to start or finish your day during your skincare routine. Traditionally, the practice is used to treat a wide range of health conditions, including chronic pain, respiratory problems and digestive issues. “By breaking up the stagnation, we release the tension we hold in our muscles,” which is why Victoria uses it to treat neck, shoulder and back pain. It can also help alleviate symptoms of cold or flu, too.
Facial Gua Sha can “improve the health of your skin by increasing circulation and stimulating the production of collagen,” says Victoria. It can release tension in areas like our jaw and temples, relieving things like minor headaches. The actual practice of Gua Sha can also help overall wellbeing; it can be a lovely way to introduce stillness into your day.
Beginners Gua Sha routine
The great thing about facial Gua Sha is that you can tailor it to your specific needs—whether that be tension, sinus release, or relieving stress—but we'll be starting with a beginner, basic routine to get you familiar with the tool.
Celebrity news, beauty, fashion advice, and fascinating features, delivered straight to your inbox!
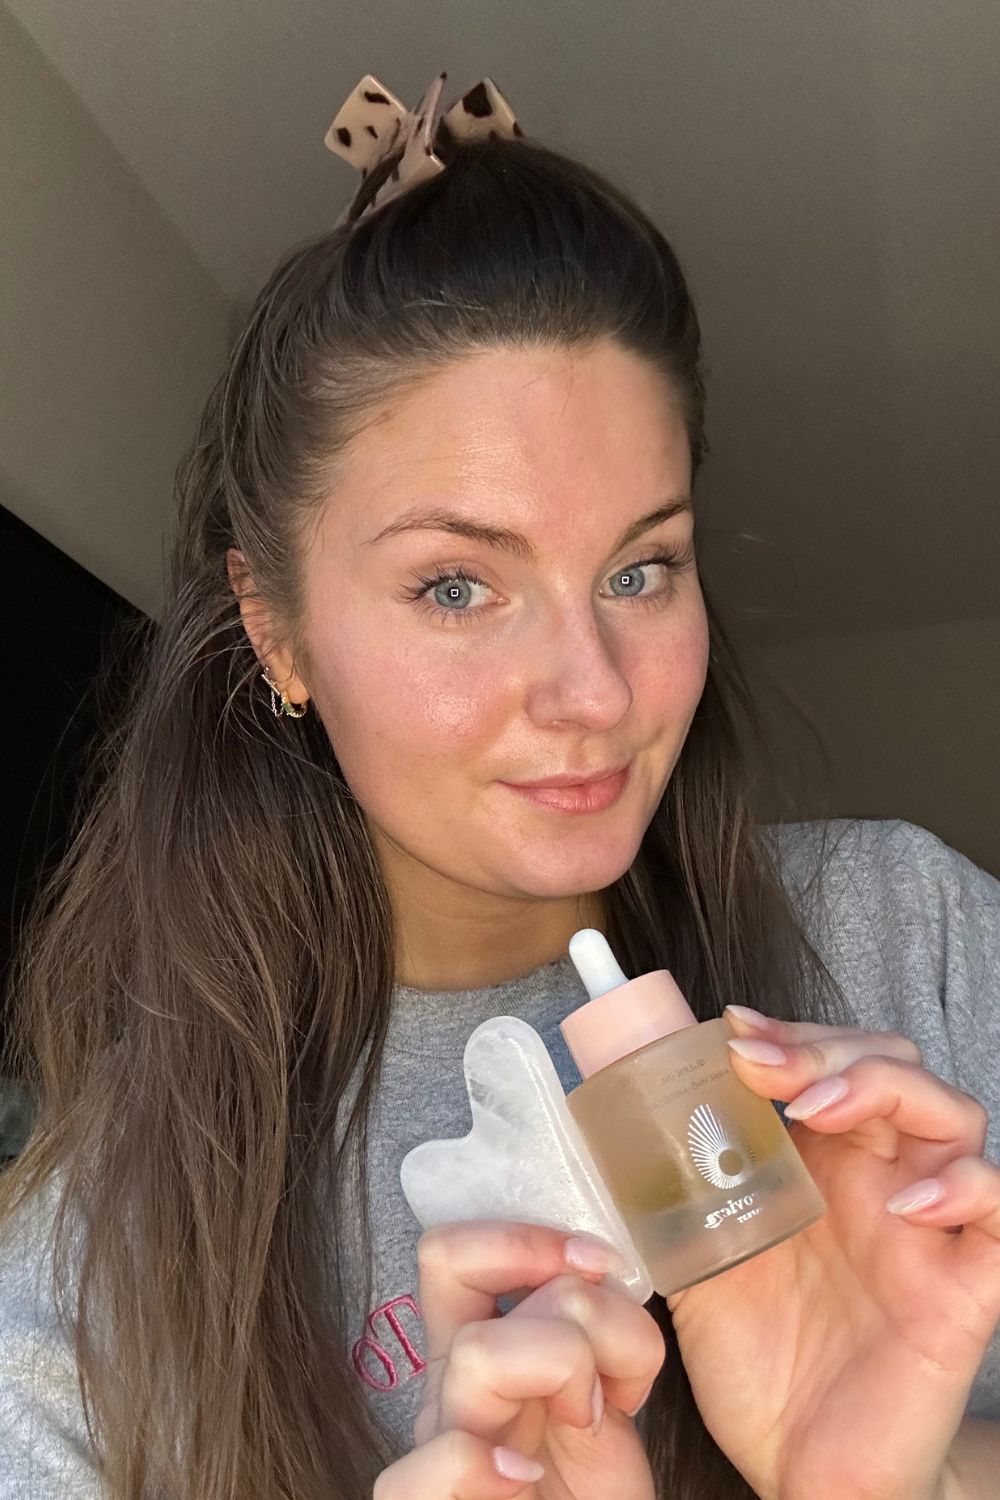
Step 1: To freshly cleansed skin, apply your chosen facial oil all over your face and neck. Muihood founder Charlotte Yau recommends warming your tool up before applying. Unless you’re looking for the cool feeling to relieve puffy under eyes.
Step 2: Starting from the chin, use the side of your Gua Sha tool to glide along the jawline until the tool reaches the ear,” explains Victoria. Make sure to apply a little pressure (but not too much) and repeat this motion 5 times.
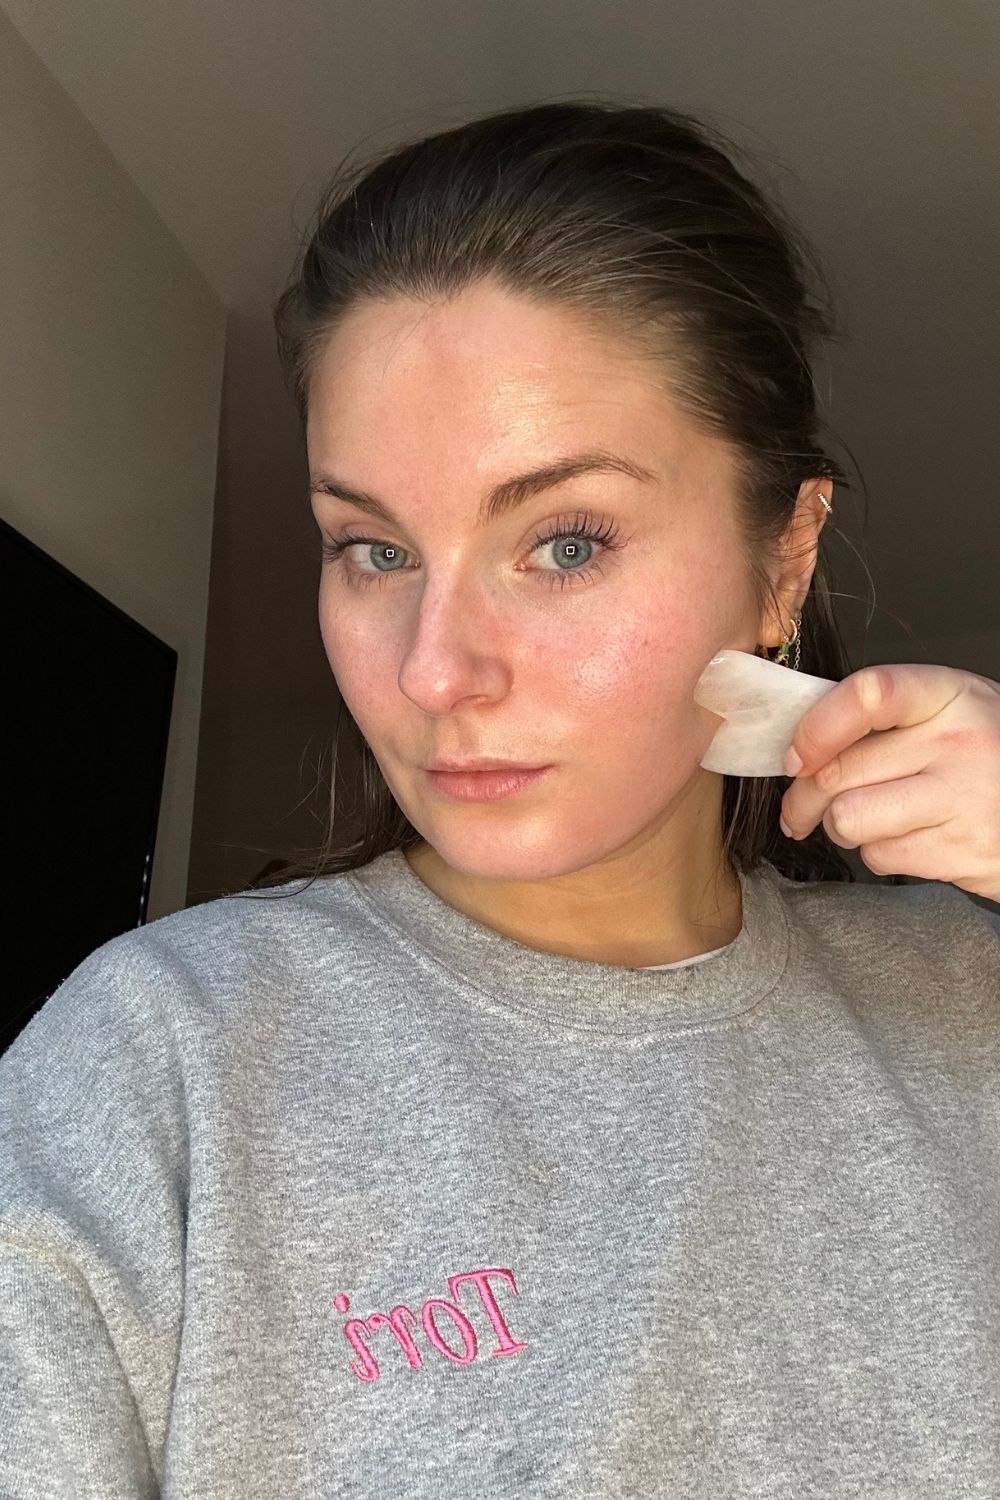
Step 3: Now, “put the corner of the tool at the side of the nose gliding upwards and backwards until the tool reaches the temple,” Victoria explains. Repeat this 5 times.
Step 4: Then you’re going to “place the corner of the tool at the inner corner of the eye and use the side of the tool on the cheek, glide under the eye then upward and backward until the corner of the tool reaches the temple.” Repeat this 5 times.
Step 5: Repeat steps 2 - 4 on the other side of your face.
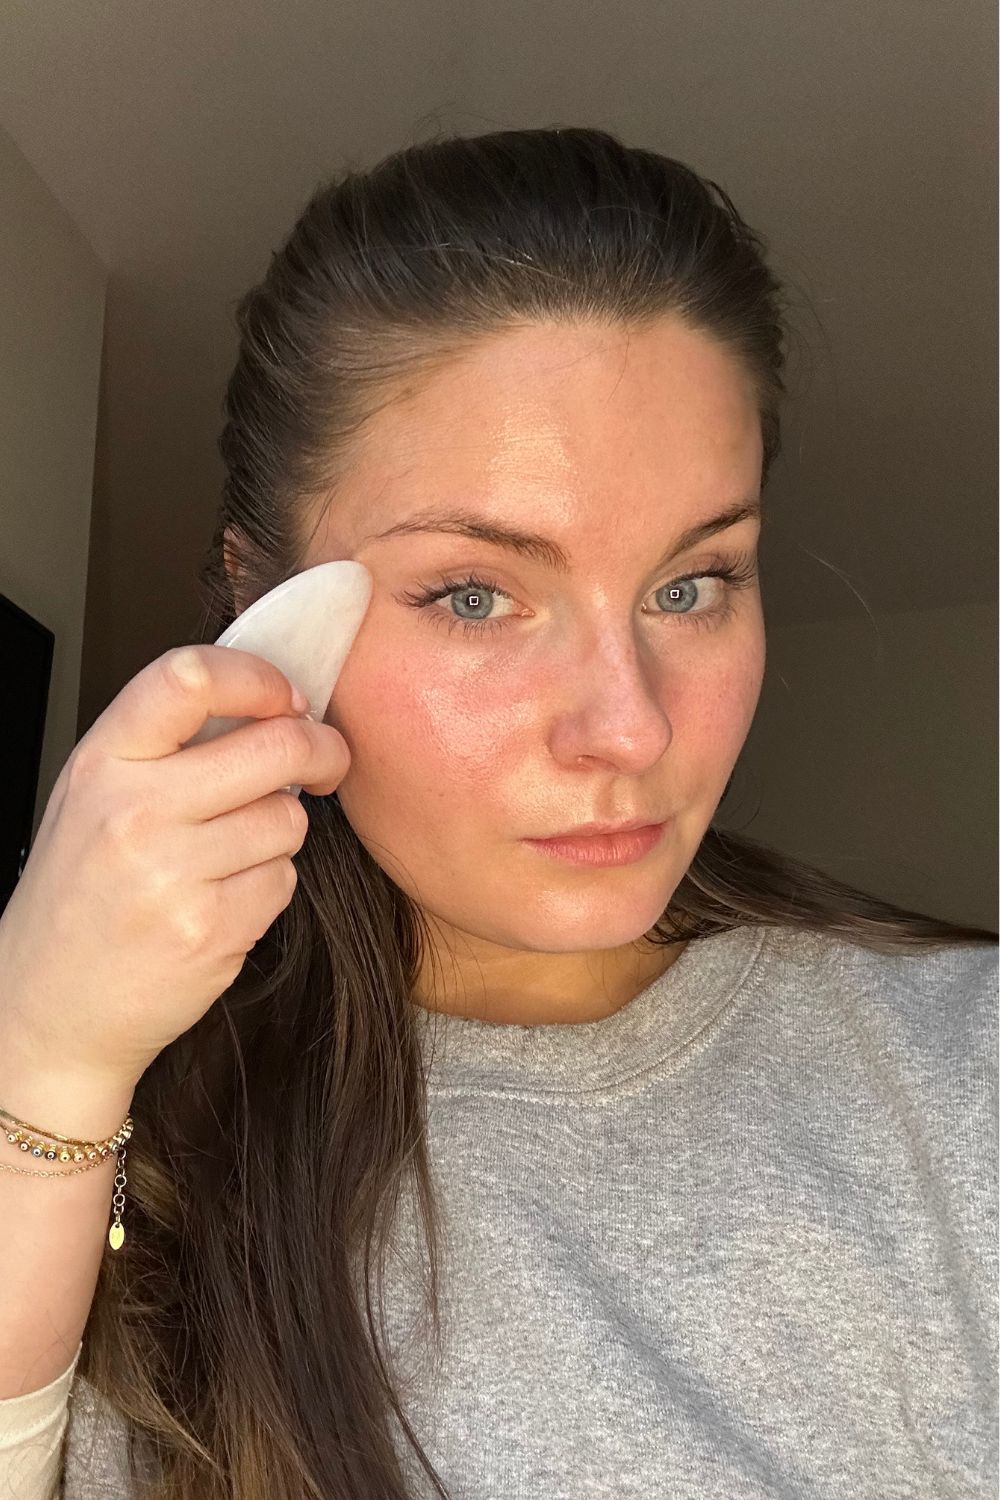
Step 6: “Place the side of the Gua Sha tool along your eyebrows, glide the tool upwards until it touches the hairline” and repeat this 5 times.
Step 7: Finally, “place the side of the Gua Sha tool under the ear, glide the tool downward along the side of the neck,” and repeat 5 times on each side.
A post shared by Yuri Lee (@skincarewithyuri)
A photo posted by on
Gua Sha best practices
It might take some trial and error to work out what works best for you, but there are a few general things you should consider.
- It’s important not to use a Gua Sha tool on open wounds.
- This should not hurt or cause bruising; it should feel relaxing with a comfortable amount of pressure.
- If you find yourself tugging at your skin, just add a little more oil.
- Find a Gua Sha tool that you find is easy to work with and feels nice on your skin.
- Never drag the tool down the face.
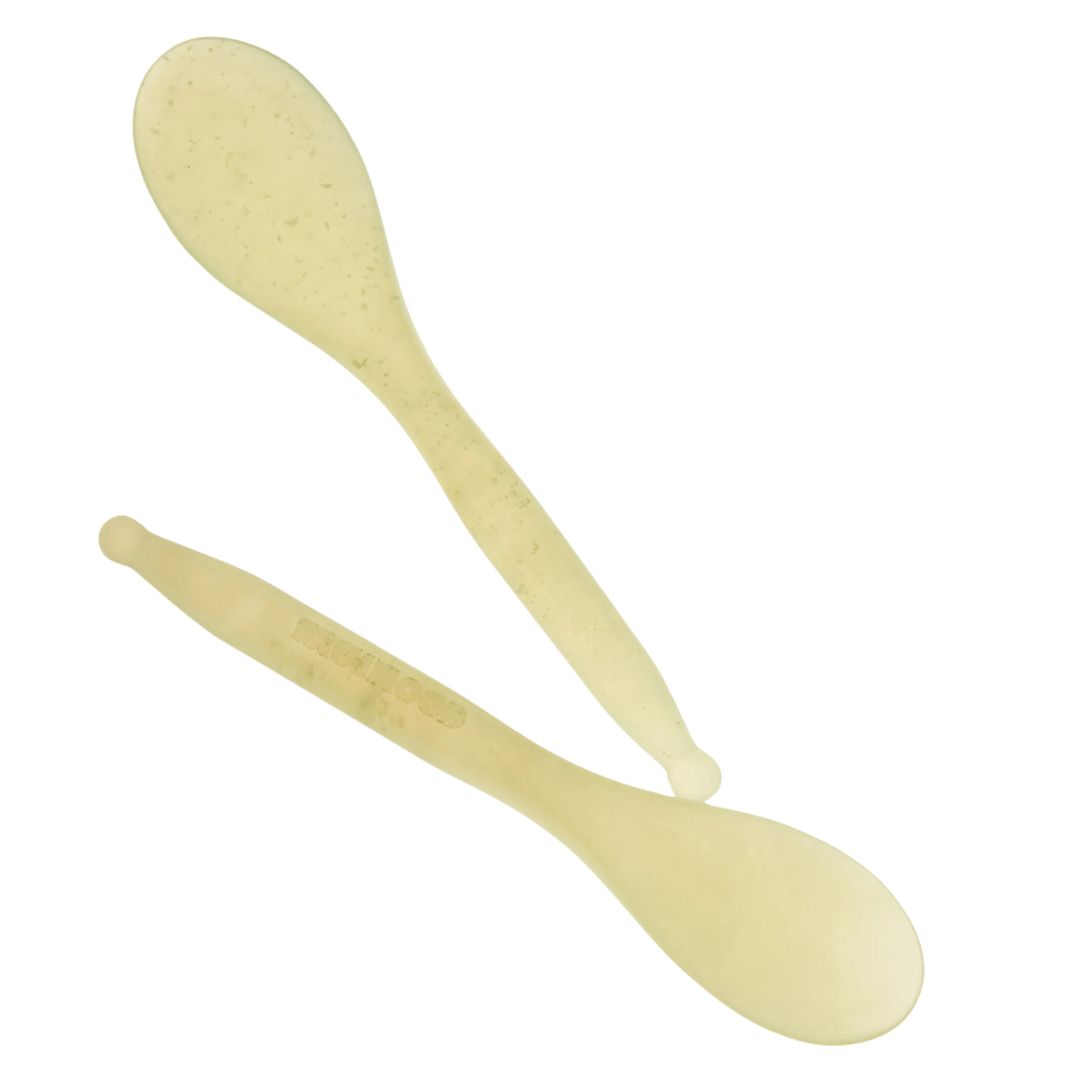
This Gua Sha is likely a little different from the ones you've seen commonly online. It has some fantastic added features, including a pointed ball tip, which means you can get right into specific points like under the brow bone.
The spoon shape can also be used as a spatula to scoop product out, reducing the possibility of bacteria getting into your favourite moisturiser from constantly dipping your fingers in.
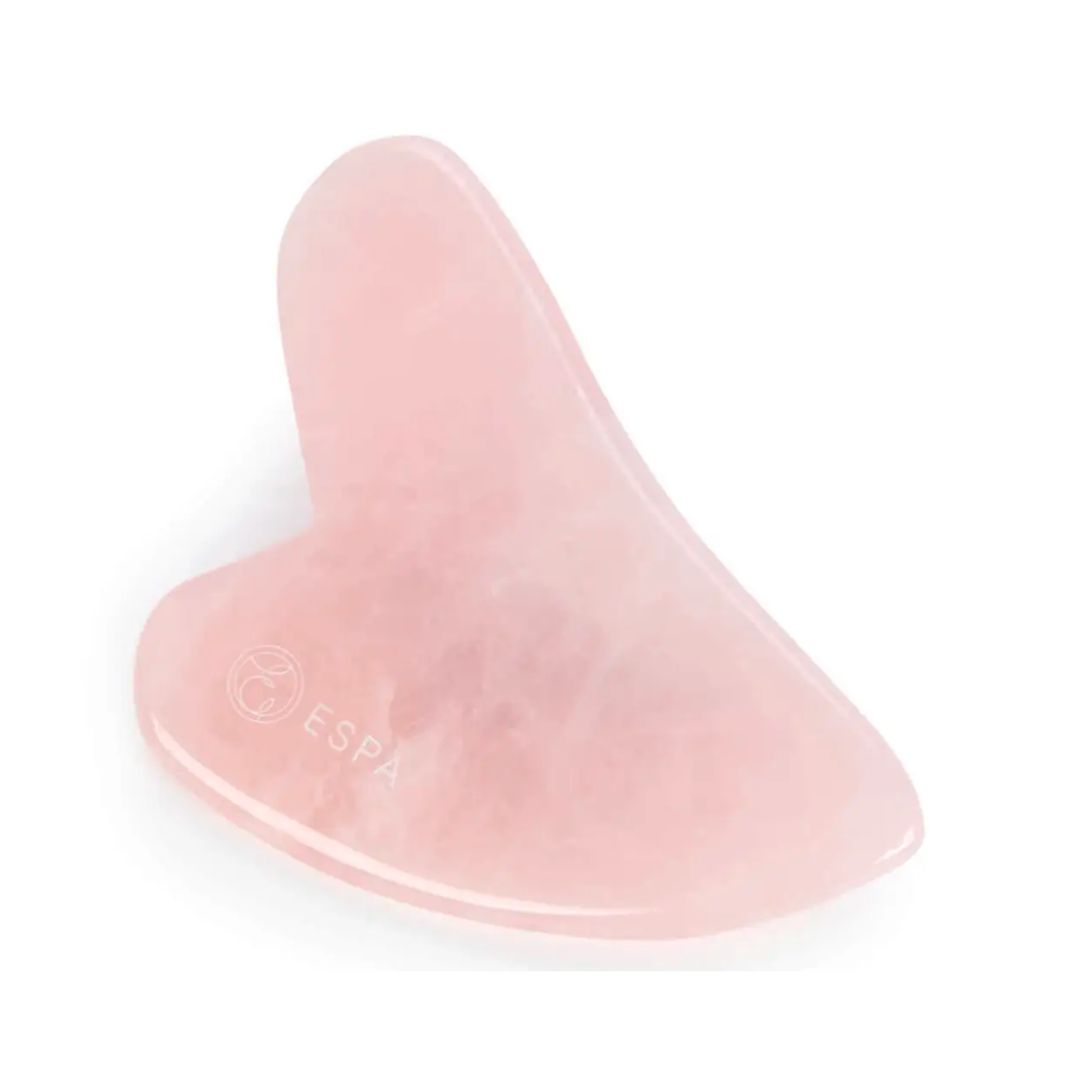
This is likely the most familiar Gua Sha shape you've seen and is great for beginners. Made from Rose Quartz, it feels soothing and slightly cool on the skin and does a fantastic job at releasing tension. It's nice and weighty, making it easy to use and apply the correct amount of pressure on the skin.
Tori is a freelance beauty journalist and contributor for Marie Claire. She has written for various titles, including Allure, Glamour, Elle, Refinery29, Brides, and more. Currently training to be a nail tech, Tori is a total nail enthusiast and always has time to talk all things nail art. When she’s not writing about beauty and testing products, Tori can be found walking her rescue dog Pip, drinking great coffee, and eating as many croissants as humanly possible.