Blush Stacking Explained: How to Layer Blush for a Natural, Sculpted Look
Feel the flush
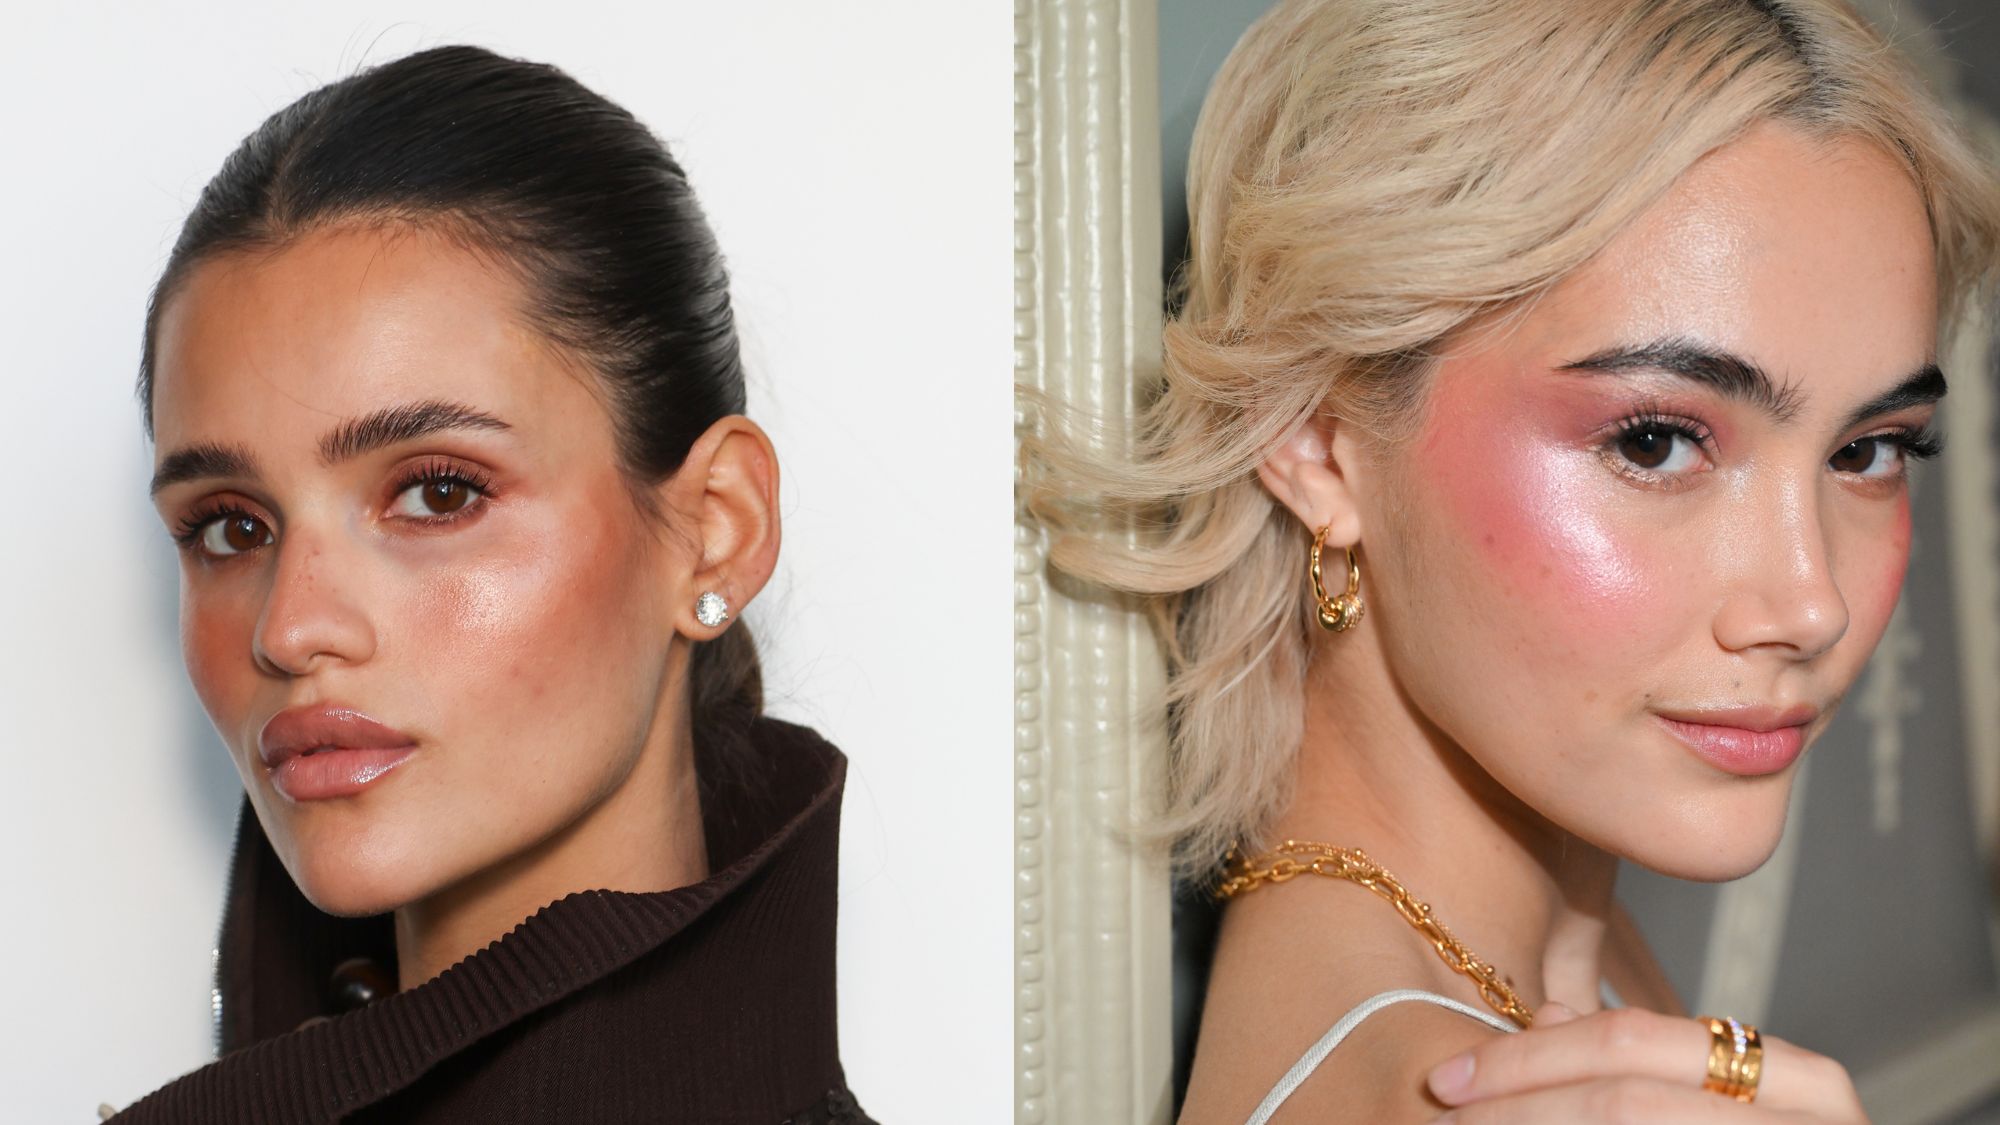

If TikTok has taught us anything, it’s that beauty is in a permanent state of experimentation. The latest trick doing the rounds? Blush stacking. In other words, layering multiple blushes—different shades, textures and finishes—to create dimension and staying power. Think of it as contouring’s more playful, rosier sibling. But is it actually wearable in real life, or just another case of 'blush blindness'—where we’ve been staring at flushed cheeks for too long and lost perspective?
On paper, the logic makes sense. One blush alone can sometimes fall flat or fade fast. By combining, for example, a cream tint as a base and then adding a powder blush to lock it in, you not only extend the wear but also add depth. “Layering cream, liquid and powder finishes allows for colour and texture control,” says Jamie Coombes, Dior's international backstage make-up artist. “The key is harmonising the shades and textures, adapting to the skin type, and aligning with the overall make-up look. Dress your face in colours that enhance your look, not smother it.”
The appeal of blush stacking
Pros backstage have been creating variations of this for years, adjusting placement under harsh lights to make models appear more alive. “It’s an excellent way to personalise your blush colour,” adds Coombes. “You can adjust it to your undertone and skin type, and it helps lock in colour for longer wear during camera-ready moments.”
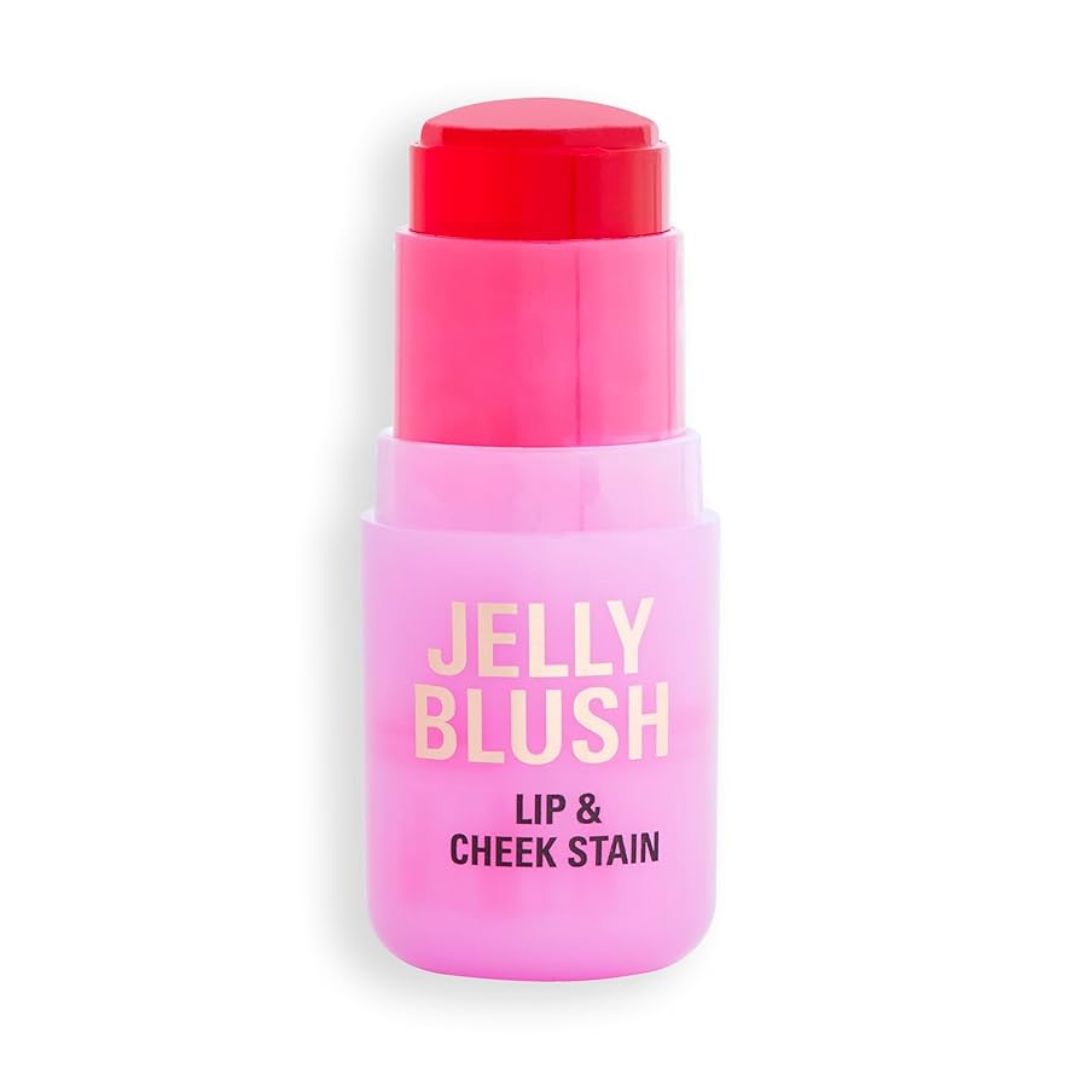
Make-up artist Emily Wood calls it one of the easiest ways to elevate your everyday look. “It’s bold, but when done right, it gives your face real dimension and life, adding depth and a 3D glow that lifts the cheeks, brightens the face, and pulls the whole look together." Blush stacking also gives you longevity—layering different textures locks in colour for all-day wear. "The key is knowing your products and building with intention—it’s not about throwing on five shades for the sake of it, it’s about sculpting and flushing,” explains Wood. "My go-to stack starts with Revolution Beauty Superdewy Liquid Blush Burst for that juicy tint, followed by Revolution Beauty Bouncy Blur to softly set and diffuse, then I press a pop of Revolution Beauty Jelly Blush on the apples for shine and bounce.
By placing a warmer tone higher up the cheekbones and a rosier shade on the apples, you suddenly’ve got a flushed-from-within glow that looks far less one-dimensional than a single swipe of powder.
Where it goes wrong
The problem is restraint. Blush stacking requires a delicate hand; otherwise, the result can veer into children ’s party clown territory. “Be mindful not to be heavy-handed,” warns Coombes. “Applying powder over cream will intensify the colour, so build gradually and keep the skin hydrated for a smooth finish.” Too many mismatched shades or clashing undertones can quickly muddy the result.
As Emily points out, “Your stack should look like one seamless flush, not stripes of colour. Tap between layers—don’t rub—so everything melts together and looks skin-like.” And while it can look stunning under ring lights or at night, daylight isn’t always so forgiving.
Celebrity news, beauty, fashion advice, and fascinating features, delivered straight to your inbox!
What happened when I tried it
Curiosity got the better of me, so I road-tested a blush stack myself in two very different contexts: during the day and at night.
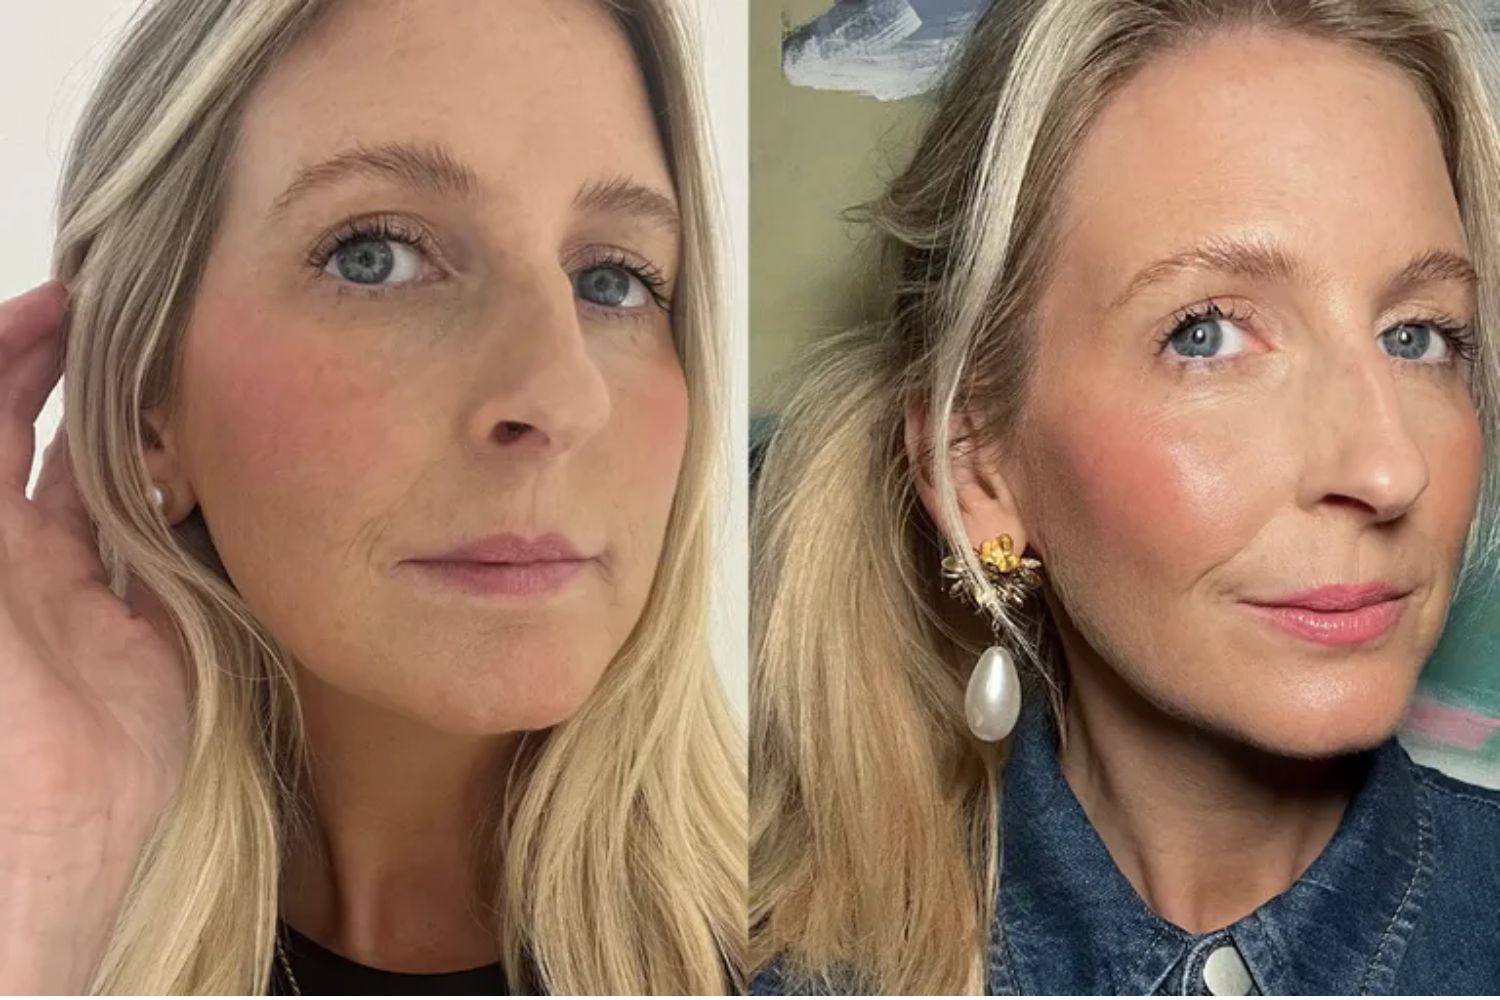
Charley with day blush (L), and night blush (R)
The daytime test: I tried a lighter hand for my first attempt, a muted pink cream blush applied with a dense brush, then topped with a glossier bubblegum-coloured balm using my fingers. The effect was fresh, but bordering on a bit too punchy in stark daylight. I imagined it could look quite chic for nighttime, but it felt slightly overdone against natural light. However, no one laughed at me, and it lasted the whole day with only a smidgen of fade.
The evening test: For a dinner out, I went all in—a raspberry-toned cream blush blended high on the cheeks, followed by a rosier powder blush for warmth, and a dusting of goldy-peach high-shine on top. In low light, it was gorgeous: luminous, sculpted, and the colour stayed put long after dessert. My face looked subtly lifted without any harsh contour lines. I usually always wear a bold lipstick; however, I felt this would be overkill, so I opted for a smear of the same cream blush on my lips instead.
How to make it wearable
- Limit the layers. Two products (cream + powder) are usually enough. Anything more should be practiced and is best saved for special occasions.
- Stick to the same colour family. “Be mindful of over-contrasting undertones and adding too many textures,” says Coombes.
- Placement matters. Higher up on the cheeks = lift. Apples of the cheeks = fresh flush. Choose depending on the mood.
- Tailor to your skin type. Drier skin benefits from creams and liquids, while oilier types may prefer powder finishes.
- Blend, then blend again. “Tap between layers,” advises Wood. “Don’t overload your brush—go light-handed and build the colour.”
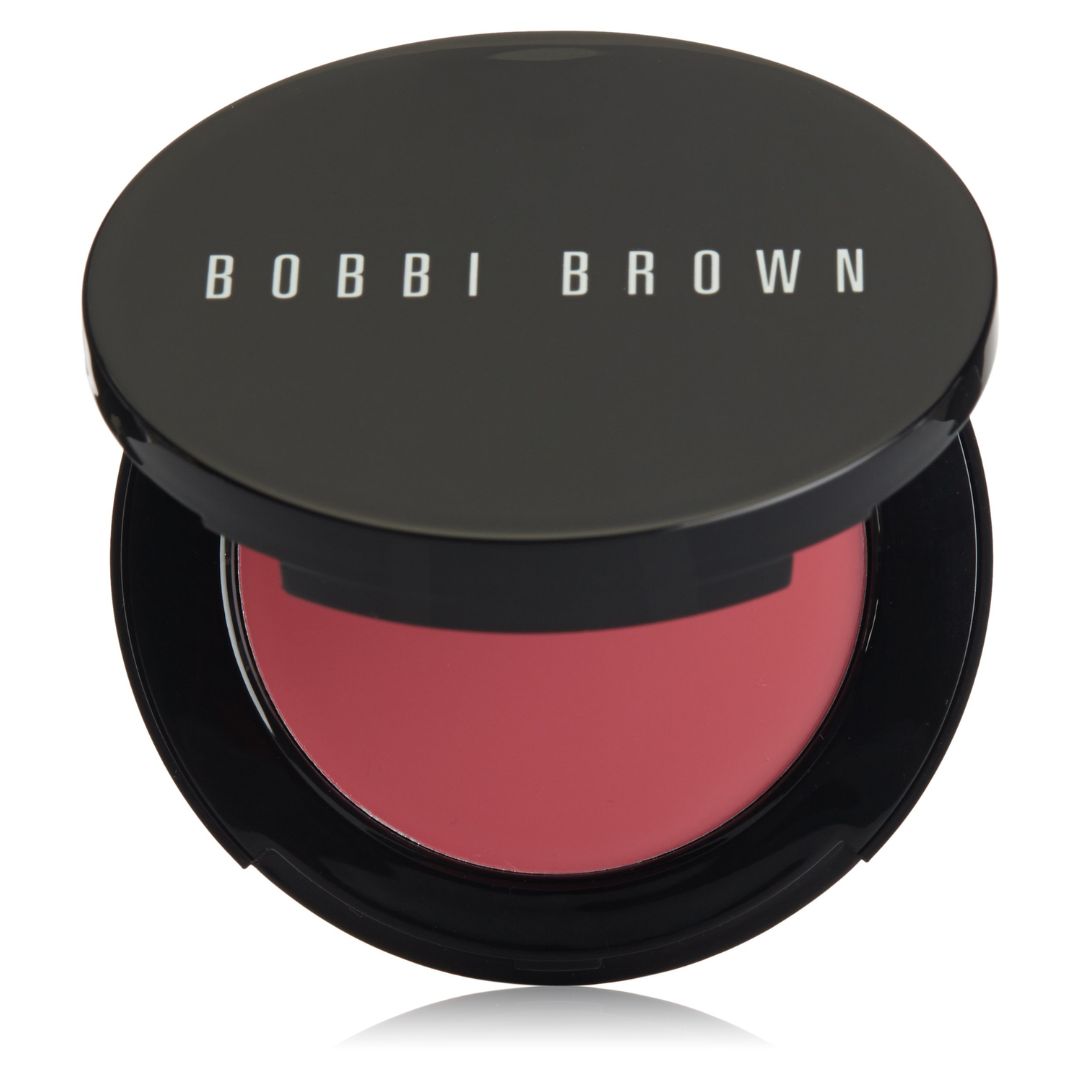
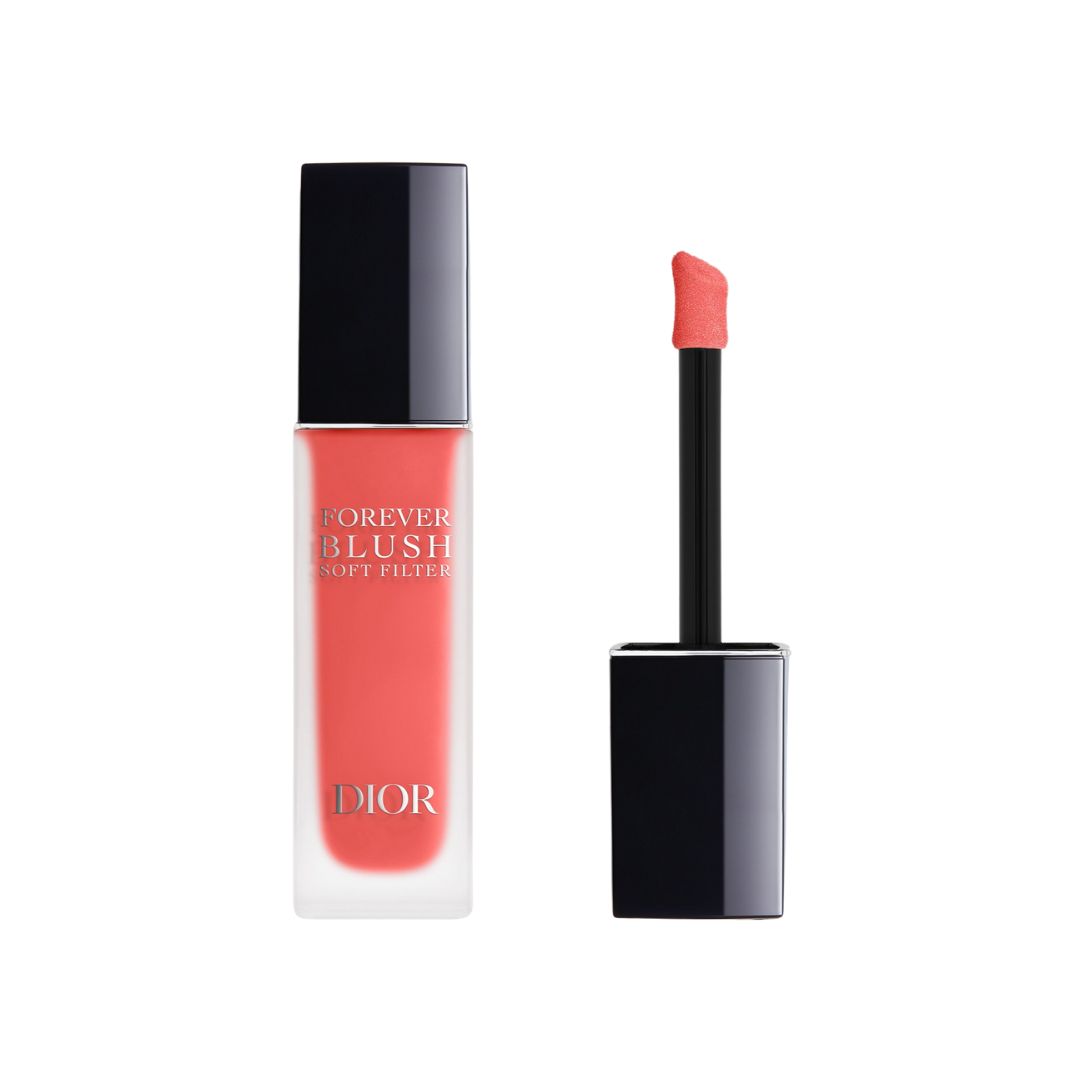
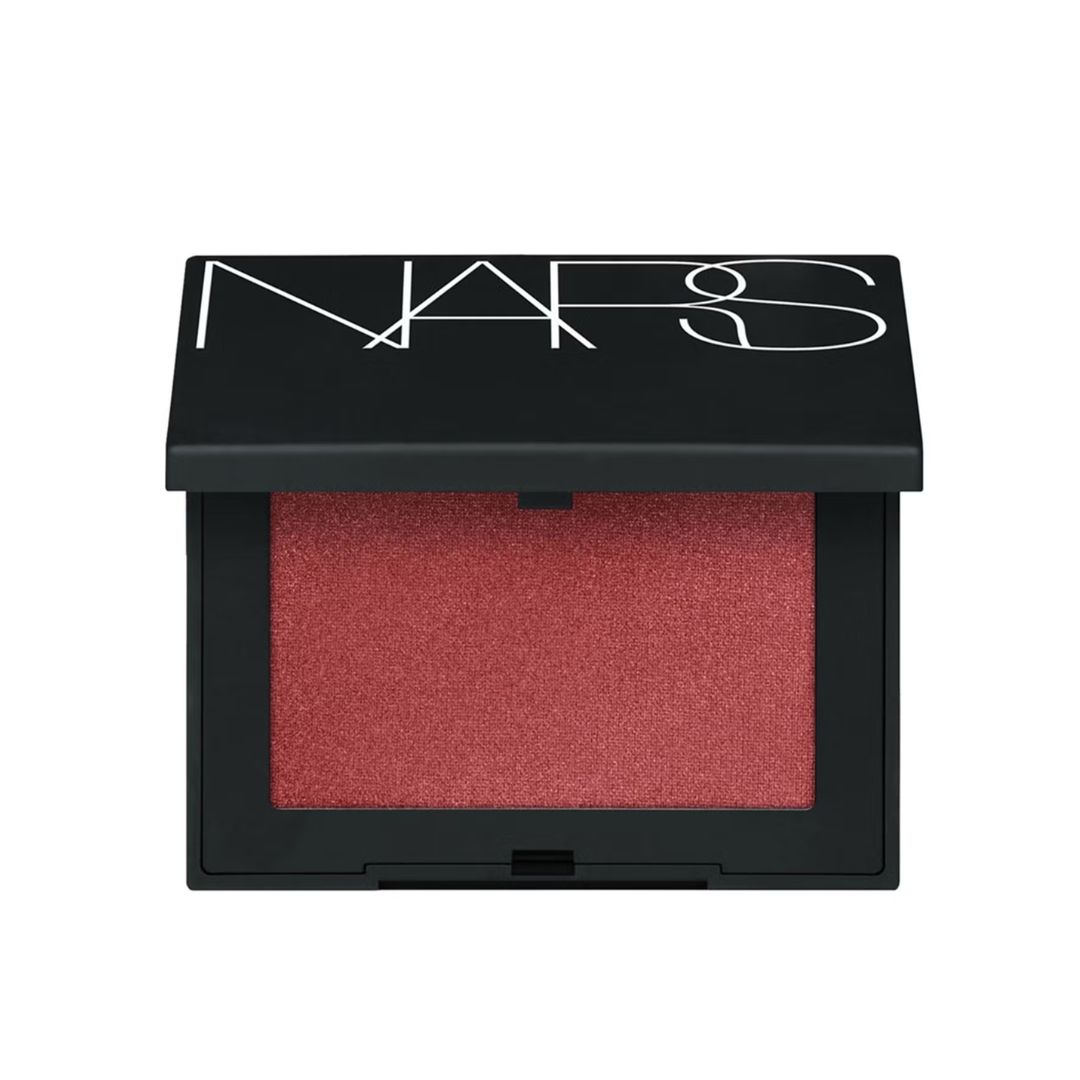
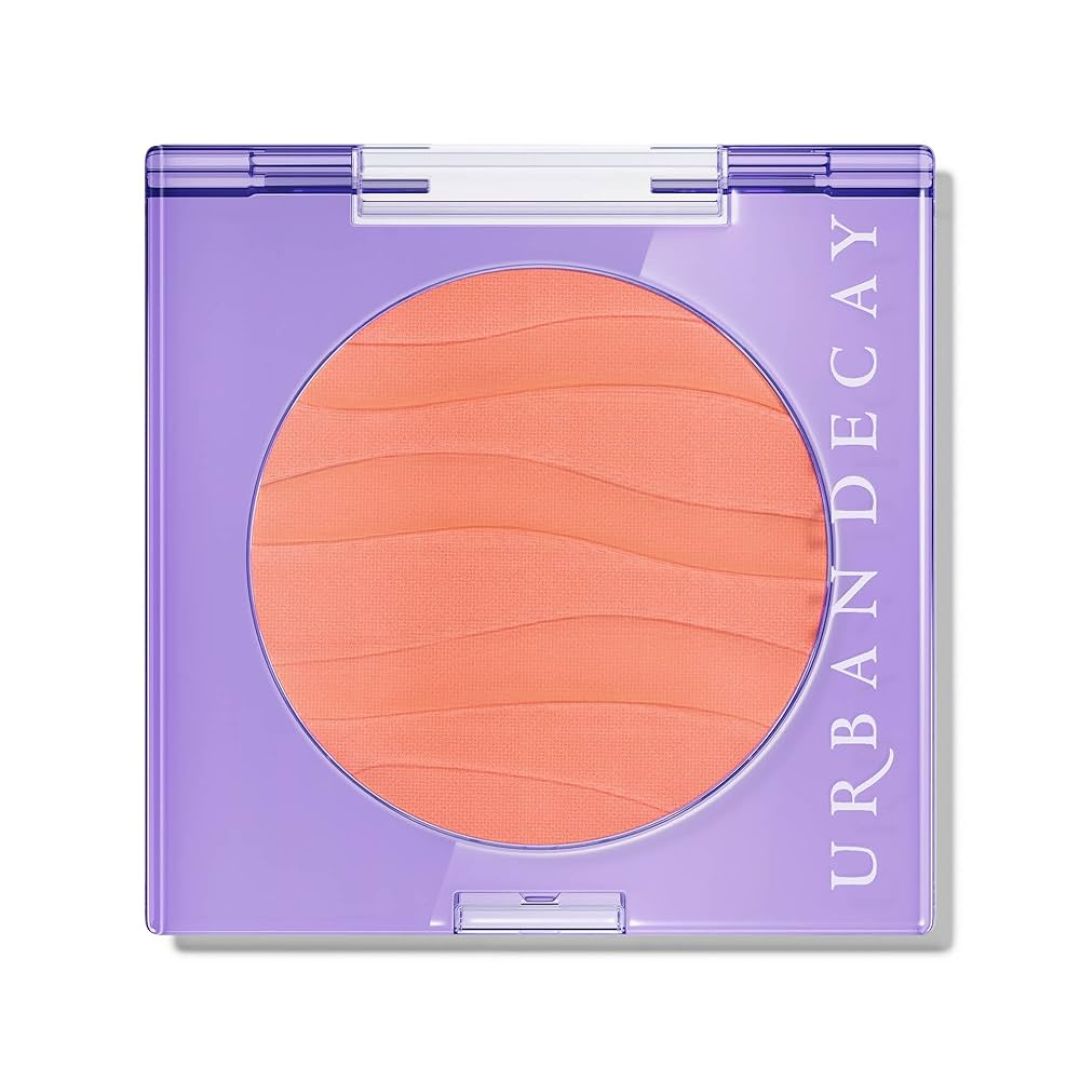
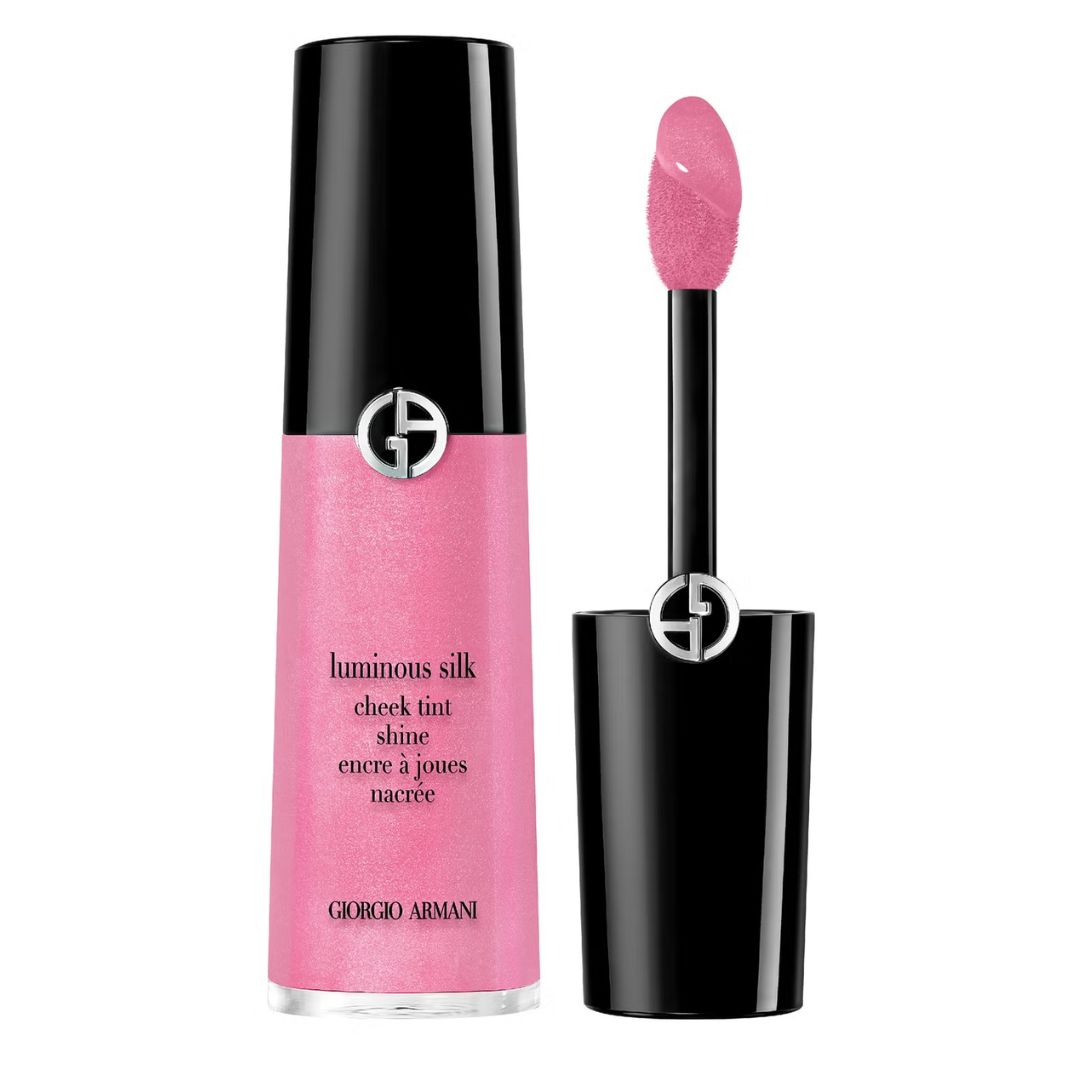
Blush stacking kit:
Final thought
Blush stacking isn’t quite the everyday essential social media would have you believe. But nor is it a gimmick. Done sparingly, it’s a clever way to keep colour fresh and create subtle dimension without needing a full contour routine.
For me, it’s a keeper for evenings out—a flattering, long-wear trick that makes skin look lit from within. But on rushed weekday mornings? One good blush, well-placed, is more than enough. Because as much as we love a trend, sometimes the most sophisticated beauty looks come from knowing when to stop.

Charley is a freelance beauty journalist and contributor to Marie Claire with over 20 years of experience working in the beauty and fashion industry.
