I'm a beauty editor turned manicurist, here are my 8 golden rules of painting your nails at home
I promise it's not as hard as you think
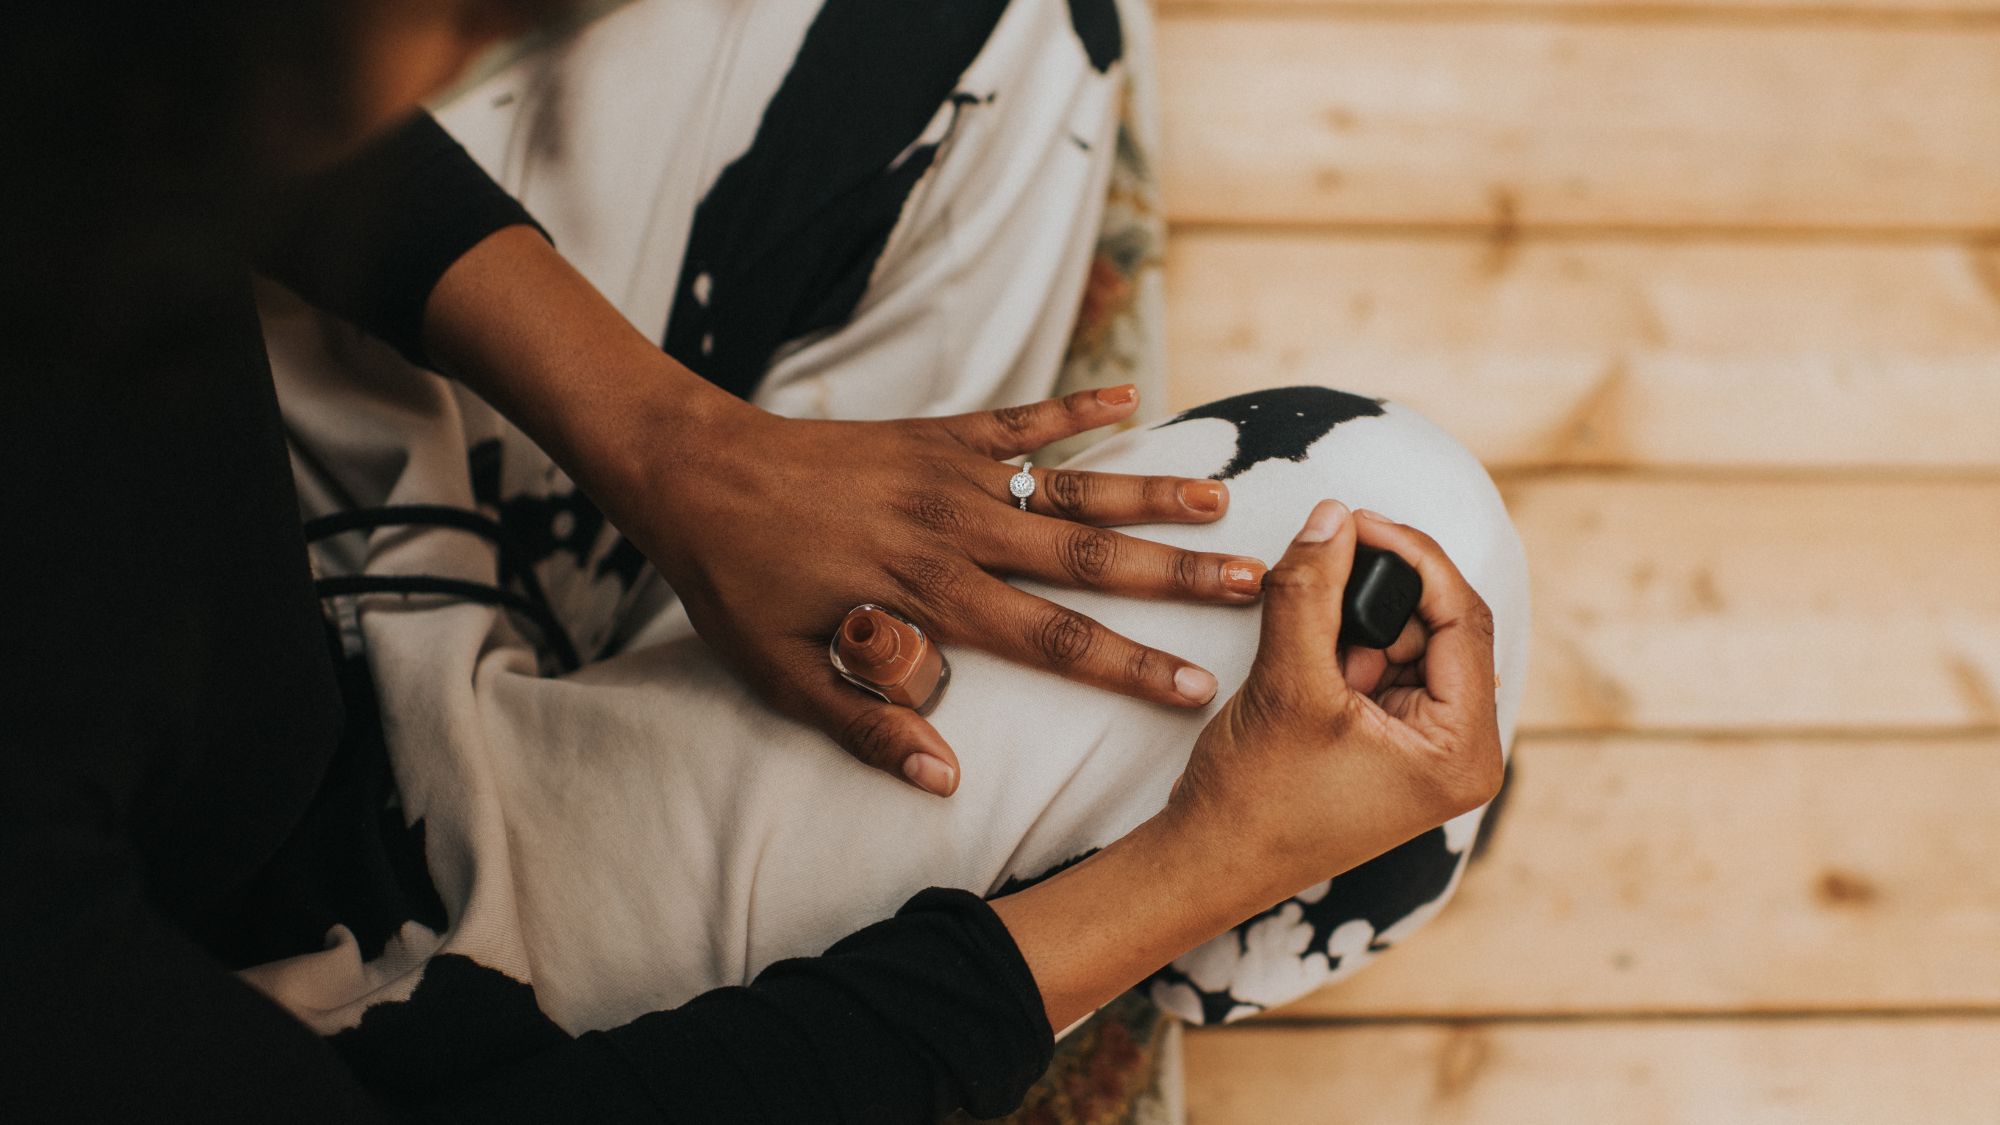
Painting your nails at home can seem like a skill that everyone around you has mastered, particularly when you haven’t quite got down yet. And while we adore the pros takes on the biggest nail trends, as well as a salon manicure (like the Ukrainian manicure), sometimes you just need to do the job yourself at home. Although you might think you’ll never manage to nail it (sorry couldn’t help myself), I promise you, with a few tips and tricks, you can absolutely become a great nail painter.
As a beauty editor and nail tech in my spare time, I’ve always got time to talk all things nails and have helped many friends master their technique for a neat, quick manicure at home. Here are my eight golden rules for painting your nails at home to become a master at it. Once you're a pro? Get practicing on the chicest nail art and best designs for short nails.
Step 1: Get the right tools
The first step is getting the right tools and getting comfy. You’re going to be sitting for a little while and want to avoid having to get up to grab new tools constantly.
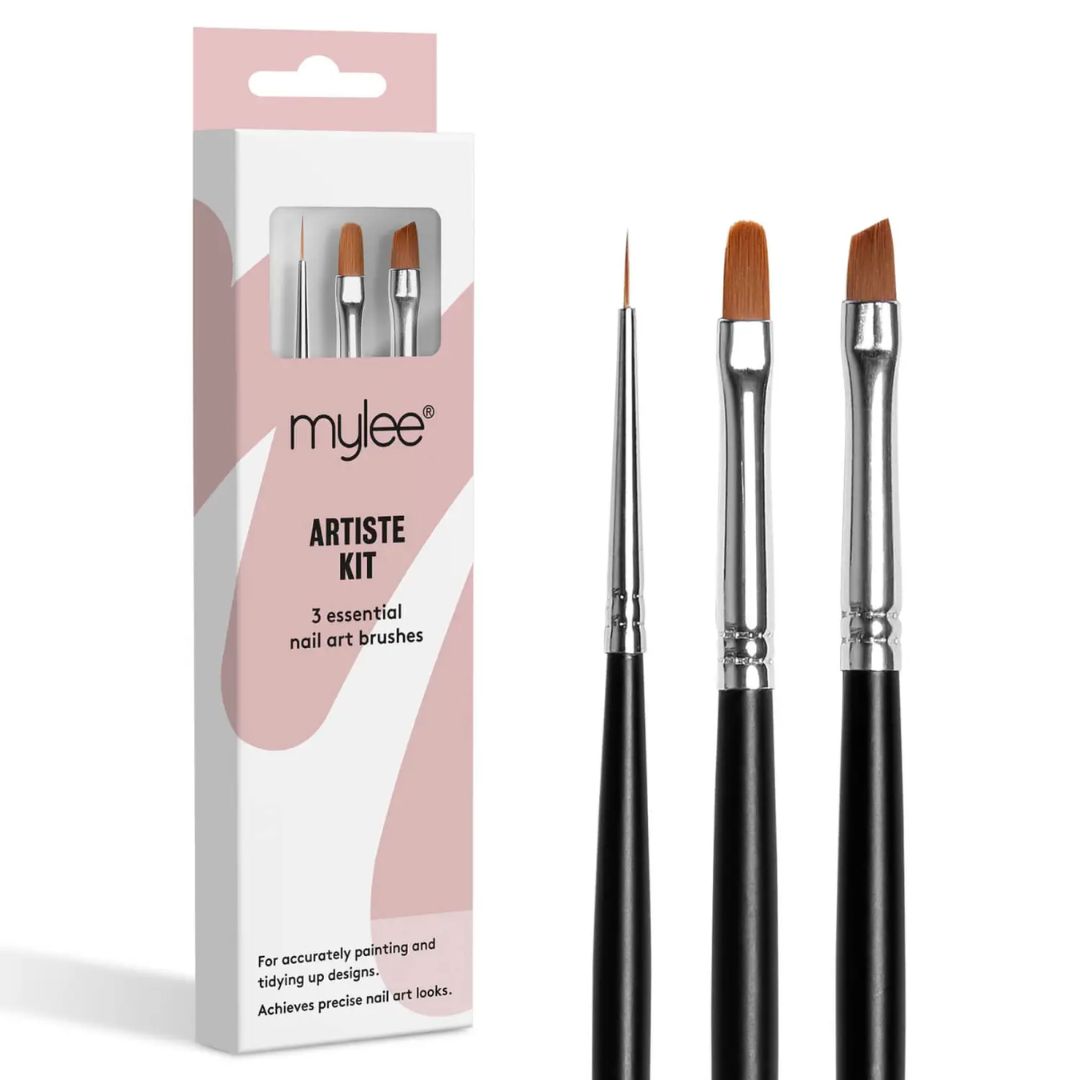
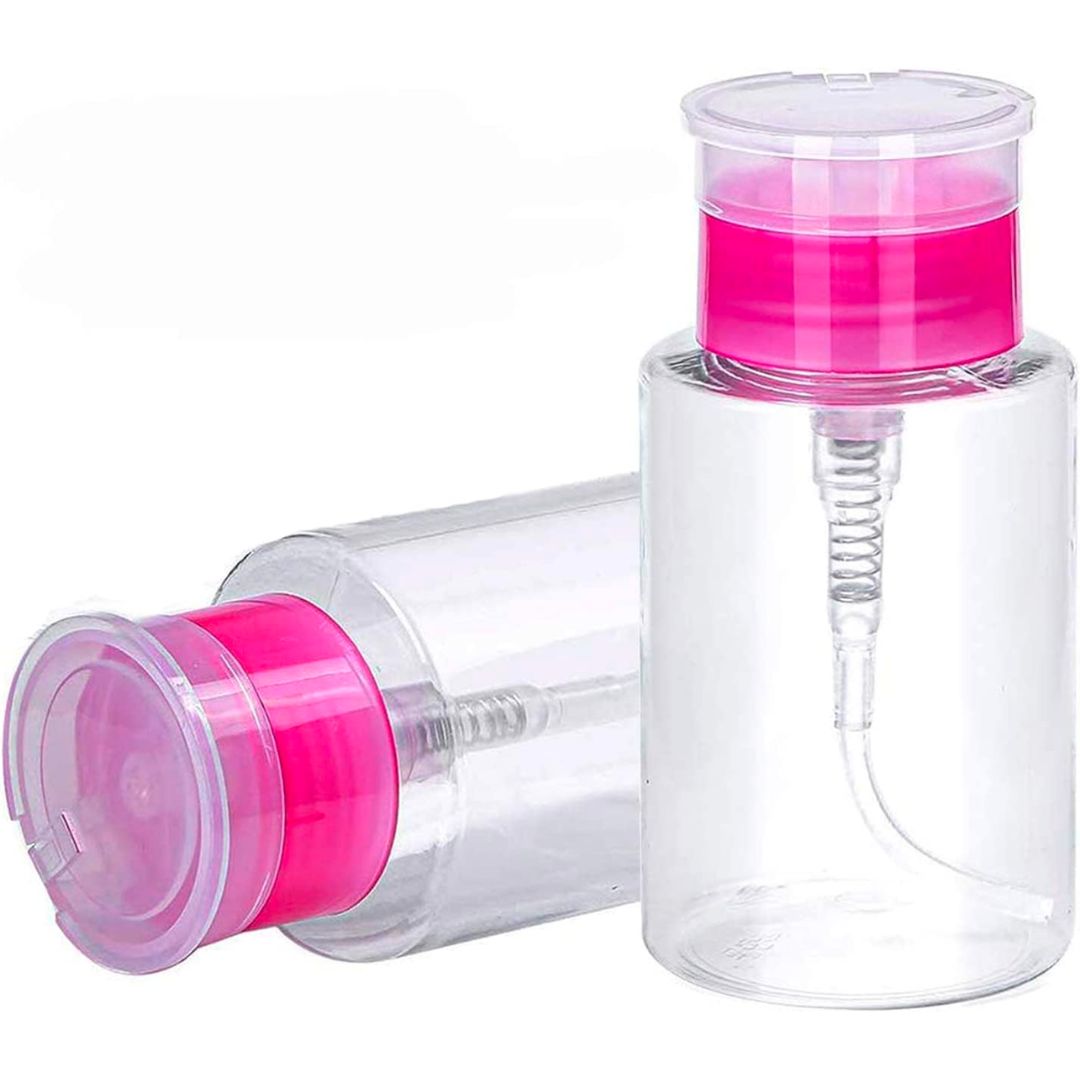
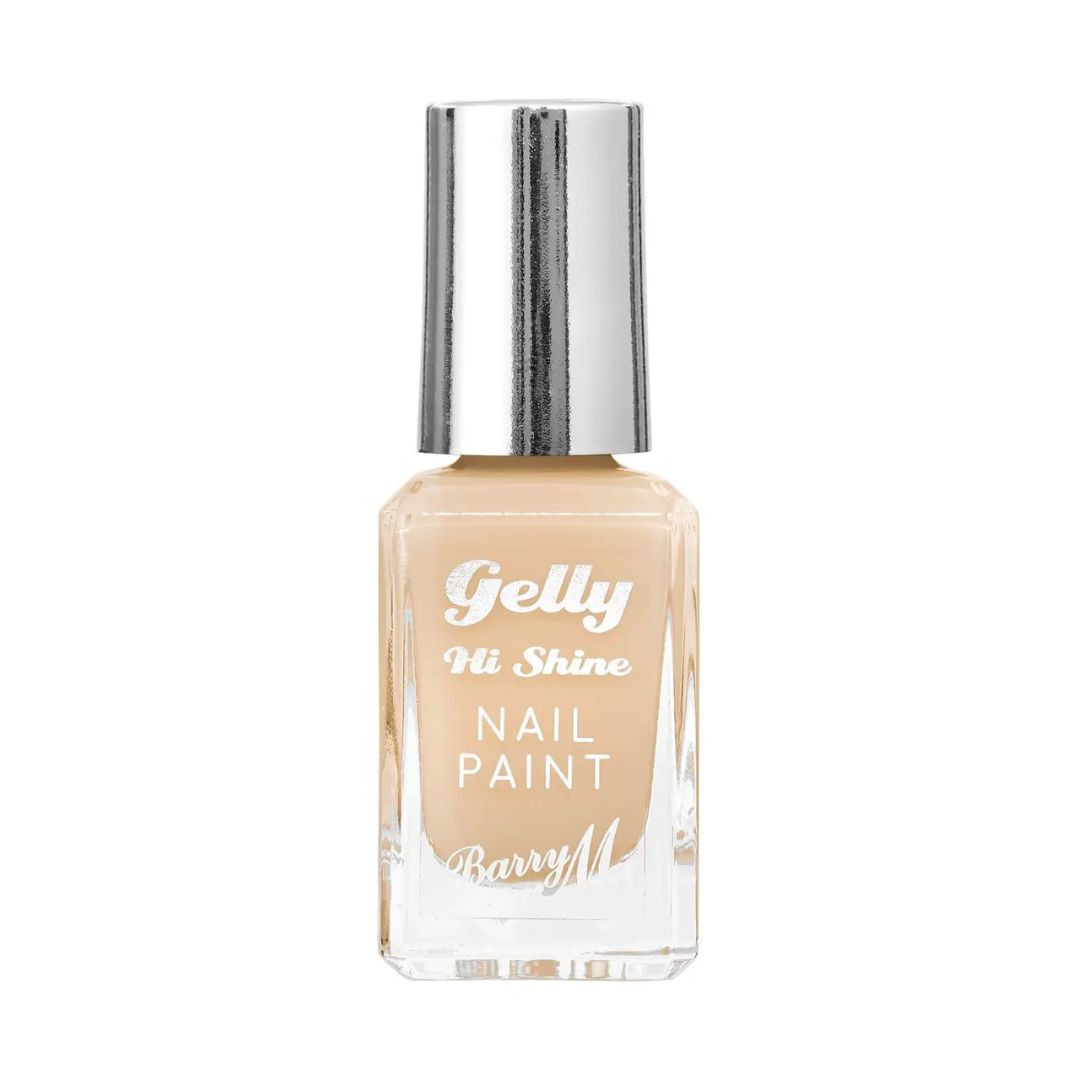
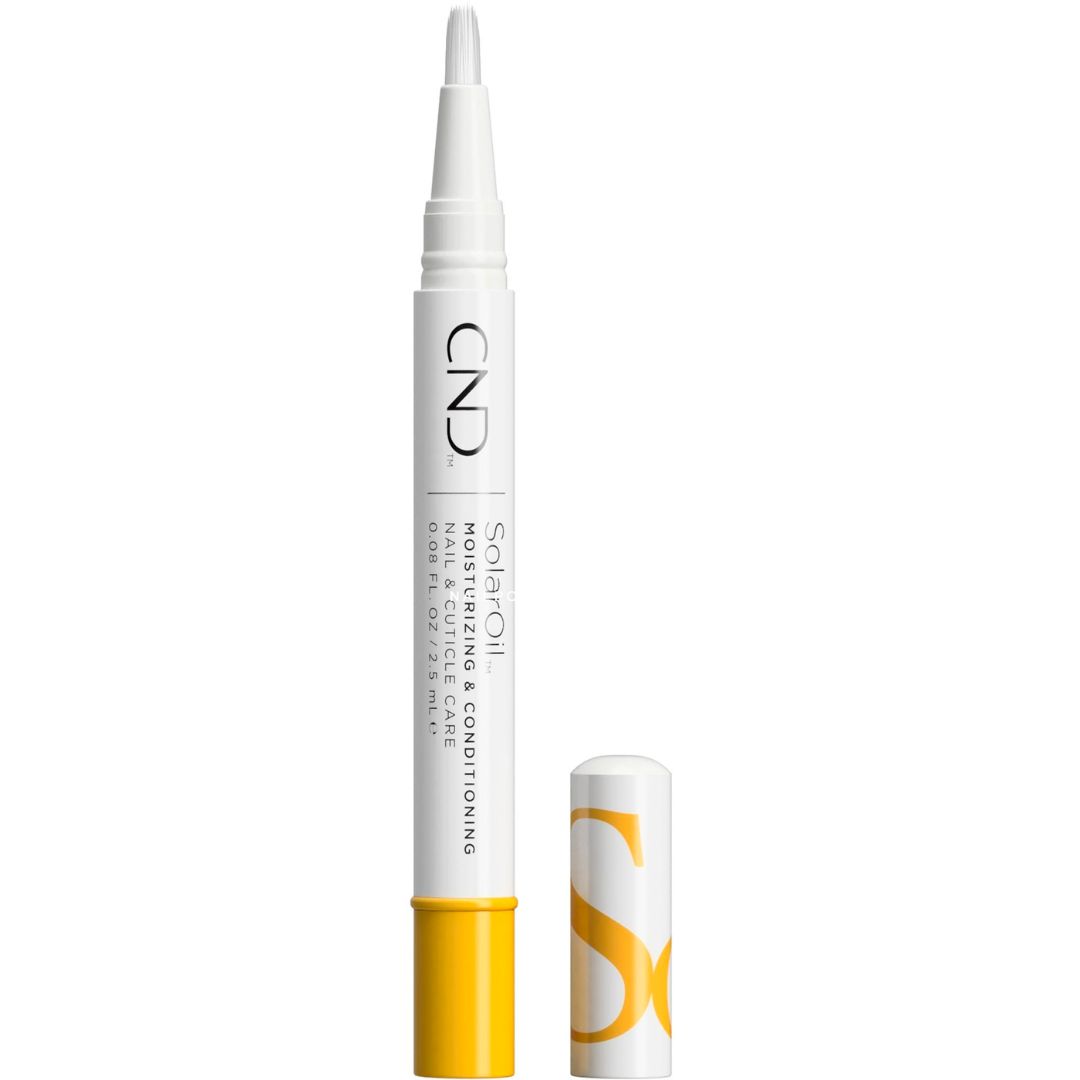
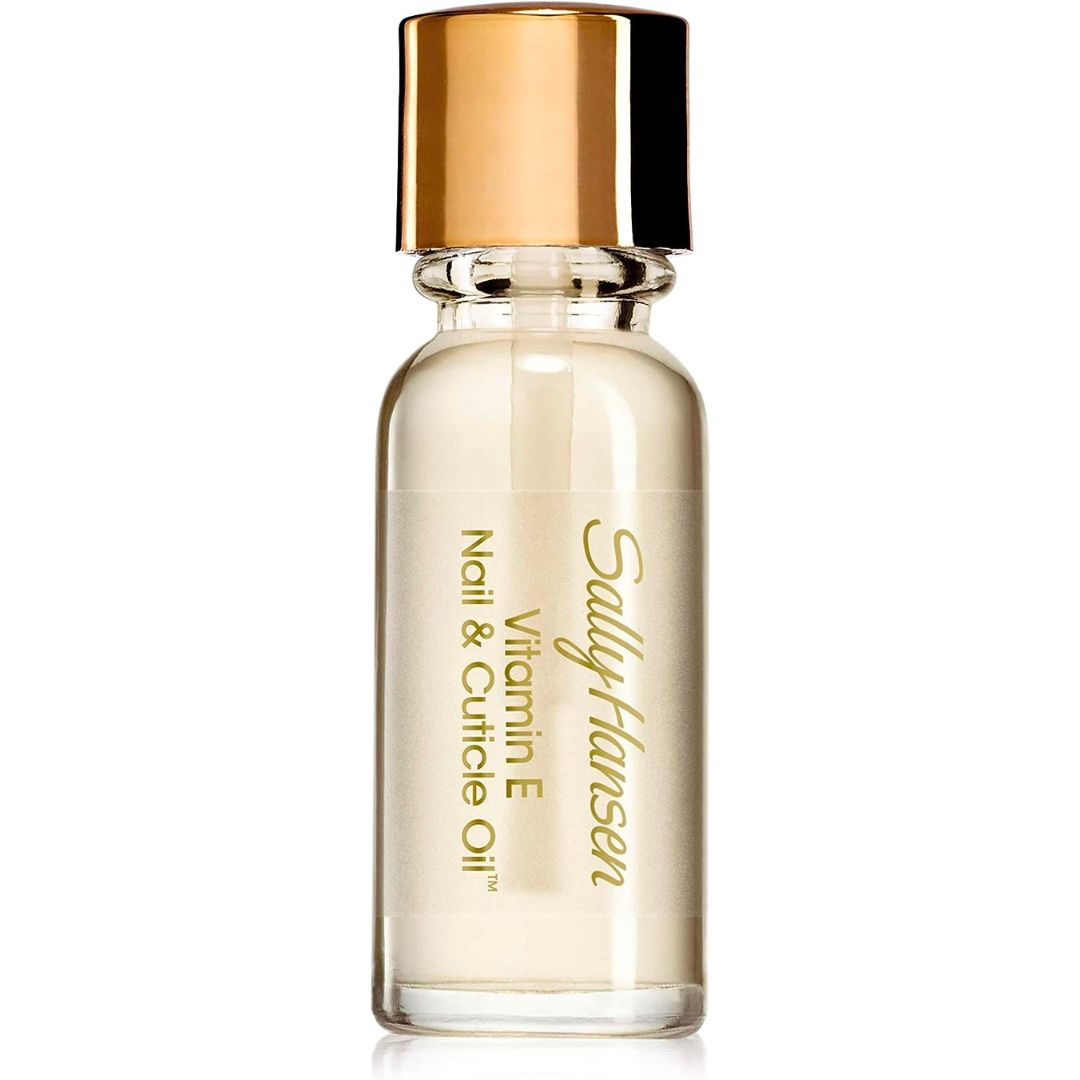
You’ll need a flat surface to work on, a base coat, colour, top coat, a small flat brush, acetone and cuticle oil. I also like to work on top of a dedicated nail flannel that I don’t mind getting messy and also some kitchen roll over the top of that so I can clean up any spills or mistakes easily.
Step 2: Perfect the amount of product you need on the brush
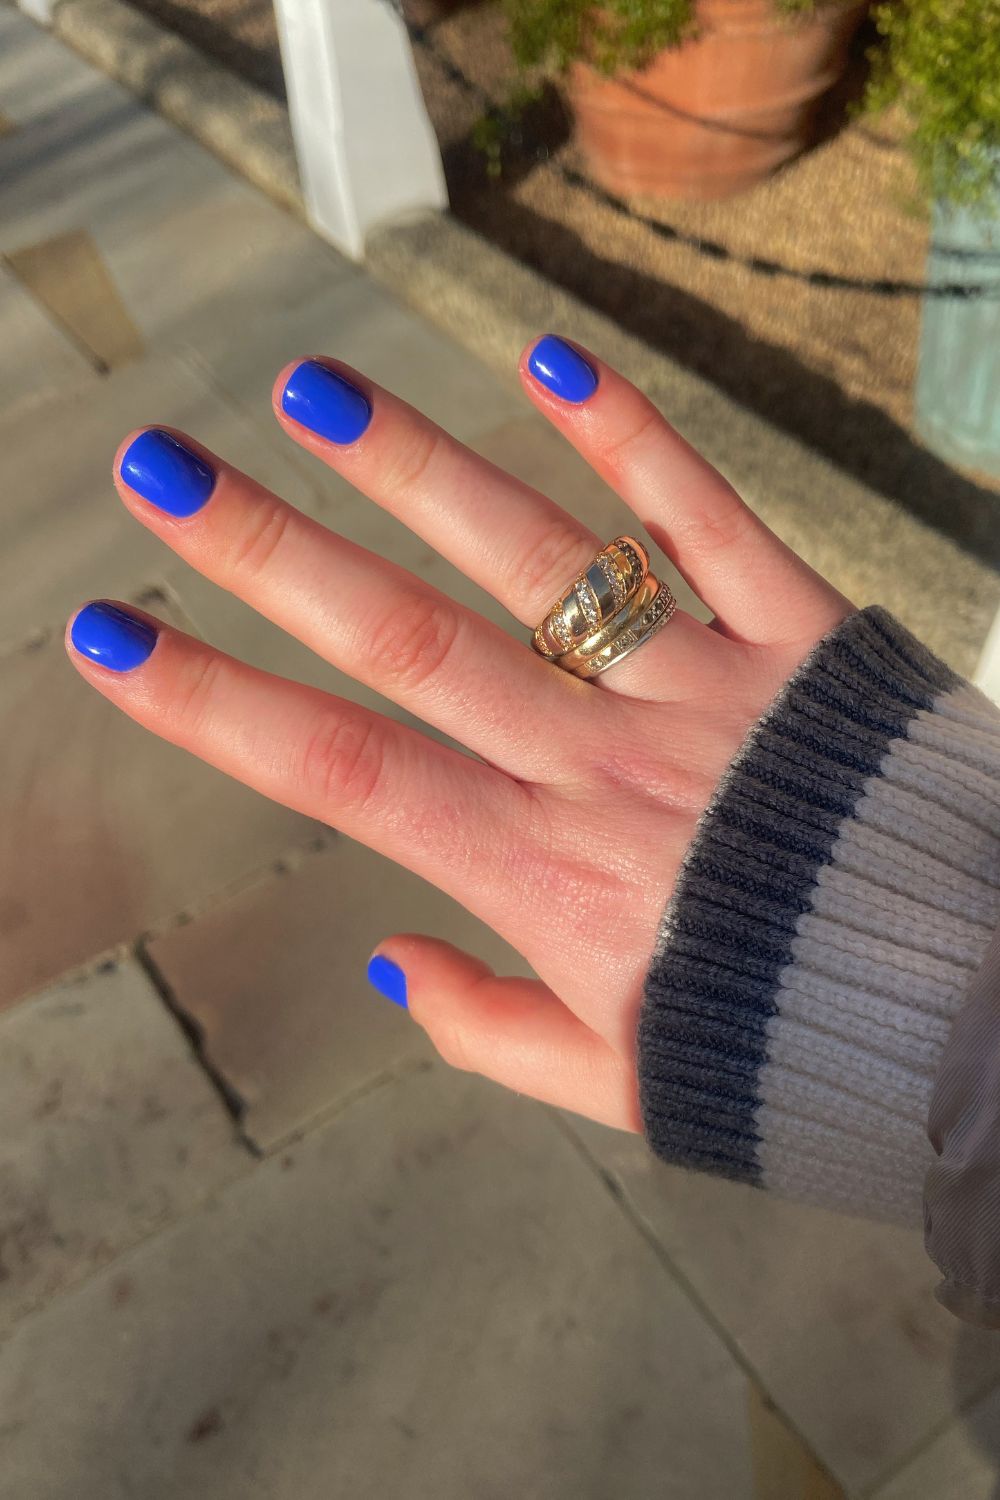
Before even touching your nail, you'll want to perfect the amount of product you need on the brush. In my opinion, this can be the key to learning to paint your nails well. With too little product, you’ll get zero paint and annoying brush strokes, and with too much, you'll completely flood the nail. Start by dipping the brush into your nail polish pot and as you pull it out, drag one side of the brush on the neck of the bottle, completely removing it of polish. On the other side of the brush, gently tap it on the neck of the bottle to remove some of the excess, but not all of it. Then use that side, which was just tapped to paint, to brush onto the nail. This should leave you with the perfect amount to paint your entire nail in one dip.
I would recommend practicing this a few times to get the right amount of polish on the brush as this is one of the most handy things to get right. Remember: this will differ with the various brand's brushes. Learning which brushes you prefer means you can prioritise using shades from that brand.
A post shared by Olive & June (@oliveandjune)
A photo posted by on
Step 3: Use as few strokes as possible
So now you’re at the actual painting stage. The trick here is to do three strokes and then cap the free edge. Start by painting the middle of the nail first, placing the brush at the base of the nail (near but not touching the cuticle), press down to place the brush and glide towards the tip of your nail, lifting your pressure slightly as you glide down. Then paint a swipe on the left of the nail doing the same technique and again on the right. This should cover the whole surface of your nail using just the right amount of polish so that there’s enough to coat it but not too much that it’s flooded and won’t ever dry. If you want to get professional, you can then cap the free edge, which is the tip of your nail. Do this by gently running a tiny amount of polish horizontally on the tip of the brush along the tip of your nail to seal the colour in. This isn’t necessary by any means.
Celebrity news, beauty, fashion advice, and fascinating features, delivered straight to your inbox!
The trick to perfect nail painting is to guide the polish and not drag it. Use a light touch to float the polish down the nail rather than heavily-handed dragging. This might take a while to practice but it’s a lot easier than people think it is.
Overall you'll want to start with a base coat, then two coats of your colour and finally a top coat allowing each coat to completely dry.
Step 4: Master the clean up
The clean up is just as (if not more) important than the painting itself. You will probably make mistakes and get a bit of polish on your skin, which is totally normal and fine. Take your flat edged brush (this can be a nail art brush or a cheap make-up brush), dip it into acetone and then run it along your skin where you have excess polish to remove it. This instantly elevates your nails.
The number one way to make nails look messy is flooding the cuticle (there’s a reason a manicurist won’t paint all the way to the edge of your nail). If you’ve done this with your colour, either wipe it off and start again slightly lower on your nail, or clean it up with acetone and your brush.
Step 5: Start with light colours
If you’re still getting to grips with painting your nails at home, start with lighter shades. It’s far easier to clean up the mess of a neutral colour than a black or deep rich red, which are the absolute worst for staining and cleaning up.
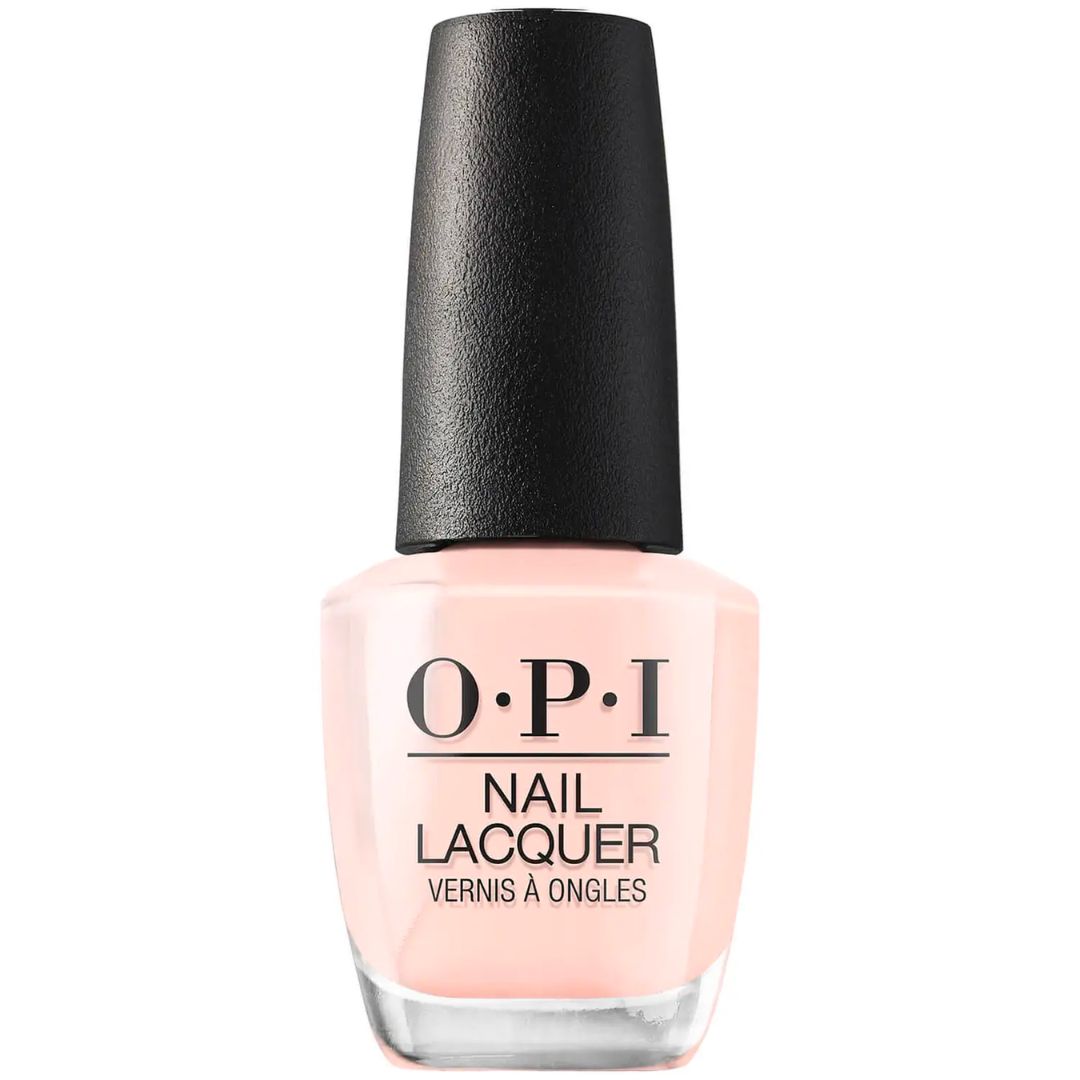
OPI Bubble Bath is a classic that you can't go wrong with. It's a great one to start with as the pinky hue is easy to clean up if your first go is a little messy.
Step 6: Cuticle oil
Don’t forget to add some cuticle oil to rehydrate the cuticles and skin surrounding your nail. This is especially important if you’ve used acetone to clean up as it can be a little drying on the skin. Cuticle oil not only makes any manicure look instantly better, but it also makes your manicure last longer so it's a win-win.
Step 7: Practise, practise, practise
Sorry, I know it's annoying to say but practise really does make perfect, especially when it comes to painting with your non-dominant hand. In this case, clean up really is your best friend. If you find you really can’t paint your nails but want to still get in on the DIY activity, then try things like press-on nails and nail wraps.
Step 8: Try a peel-off cuticle guard
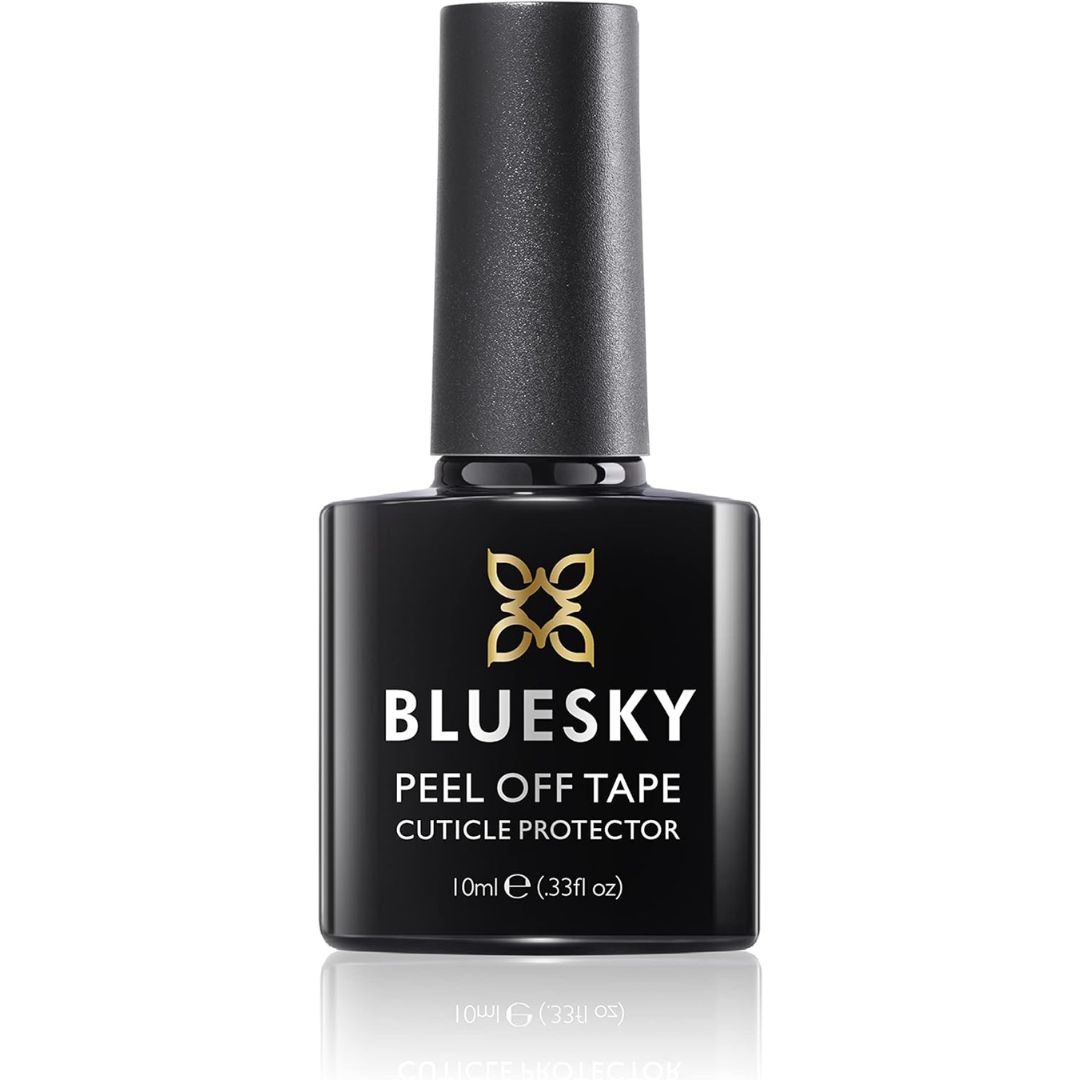
There's one trick left and that's something magical called a peel-off cuticle guard or protector. This is basically like using PVA glue as a guard around you cuticles that can be easily peeled off once you're finished painting to remove any spills. It's often in a pink or purple colour so you can see exactly where you've painted it on around your cuticle and sides of your nail.
Make sure you're not allergic or having any reactions to this type of product though. Hopefully it goes without saying that you shouldn't use it if it causes skin irritation.
Tori is a freelance beauty journalist and contributor for Marie Claire. She has written for various titles, including Allure, Glamour, Elle, Refinery29, Brides, and more. Currently training to be a nail tech, Tori is a total nail enthusiast and always has time to talk all things nail art. When she’s not writing about beauty and testing products, Tori can be found walking her rescue dog Pip, drinking great coffee, and eating as many croissants as humanly possible.
